
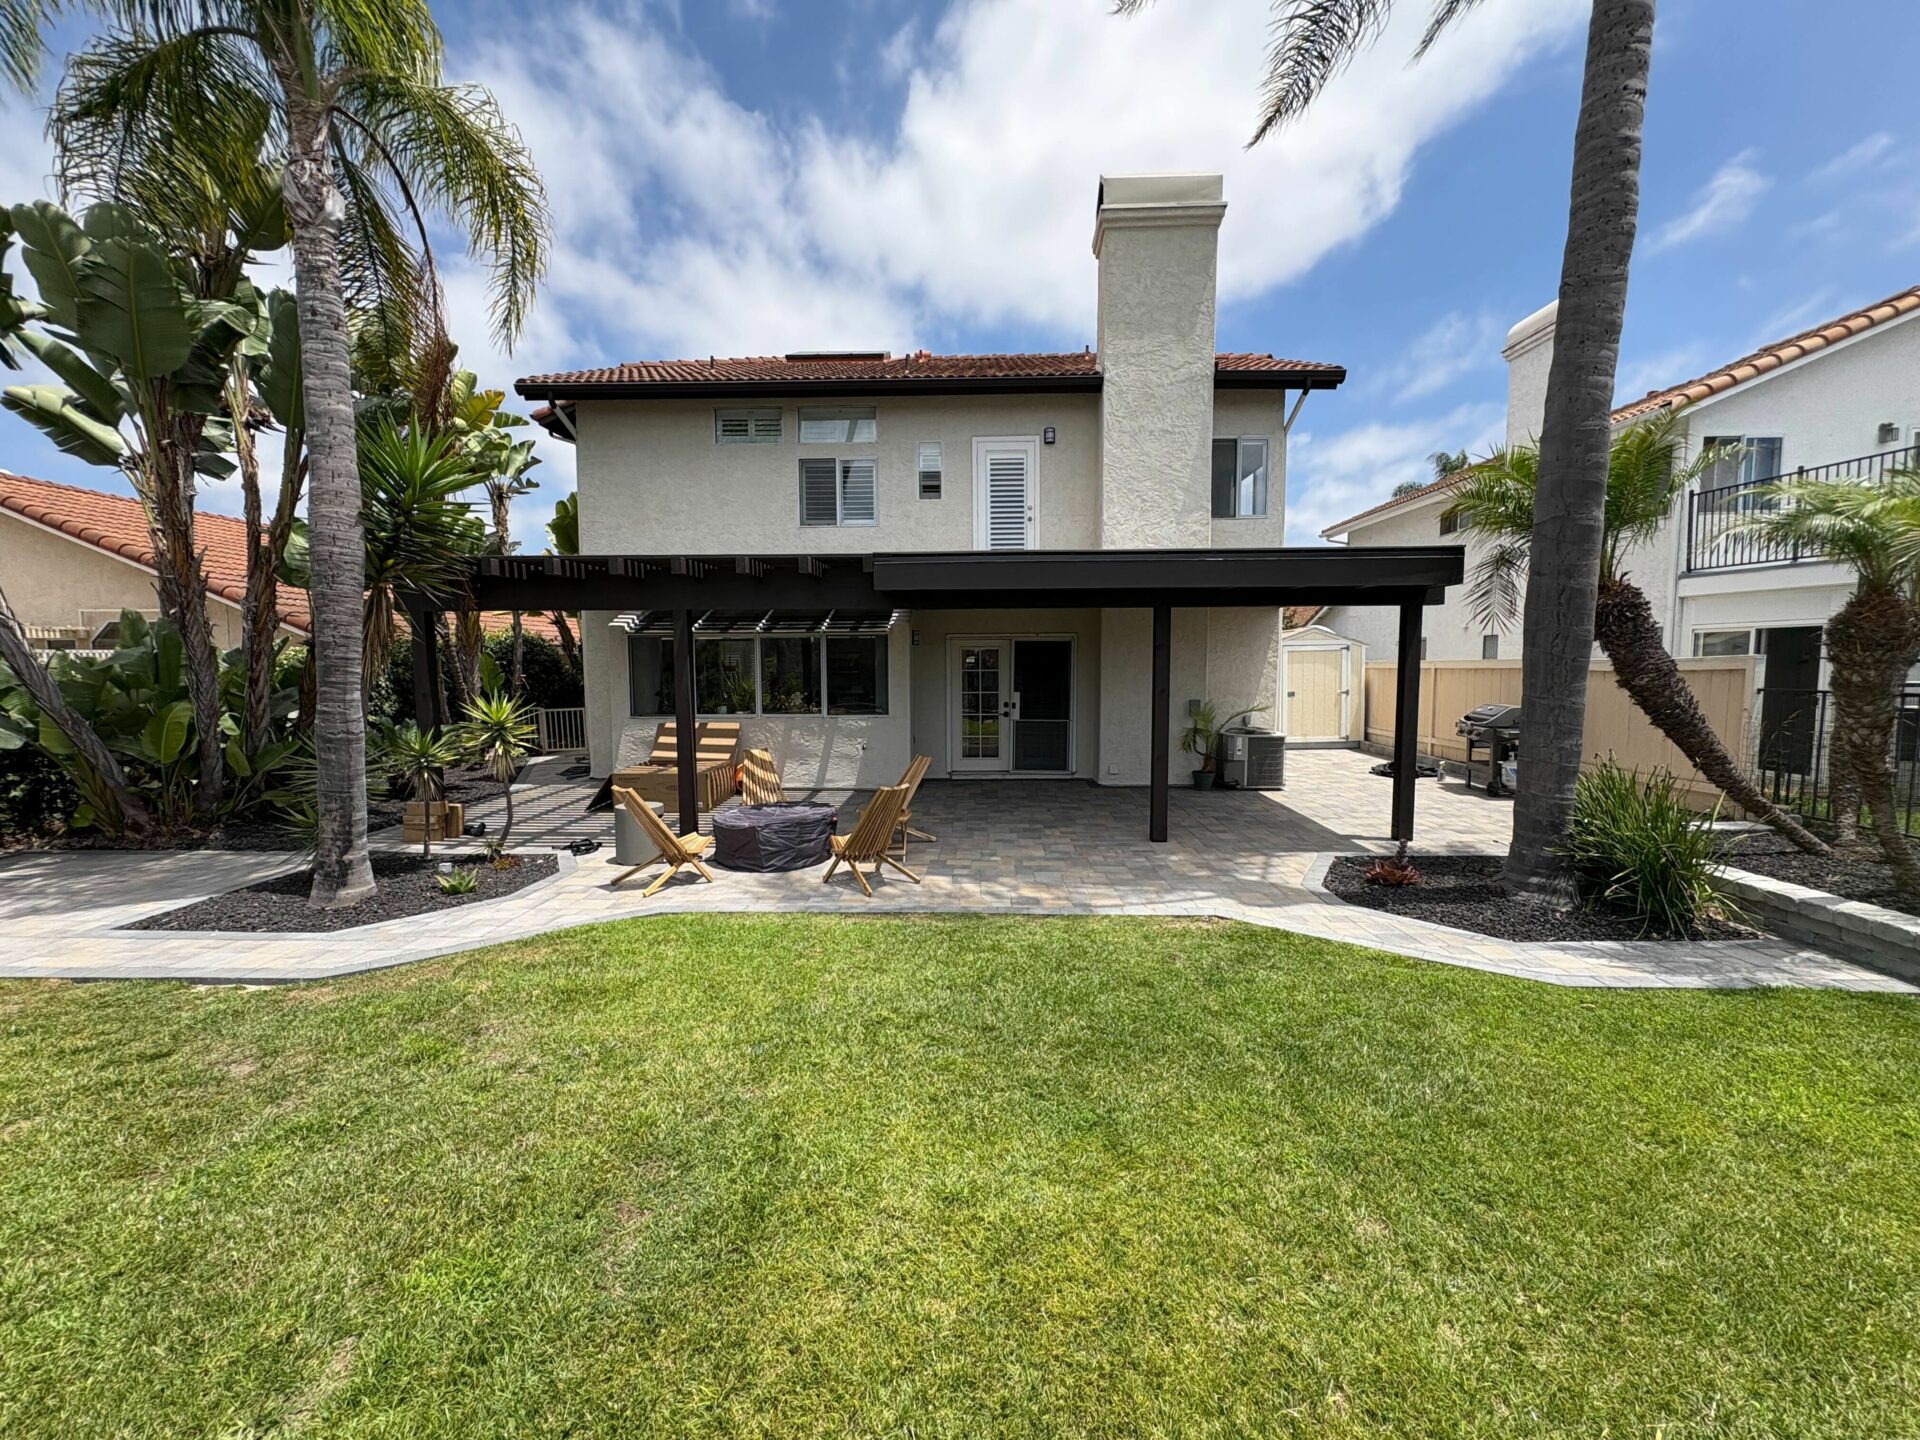
New Paver Patio in Rancho Del Oro, Oceanside
This finished project was a $34k-$42k build.
Project Gallery
Project Snapshot
Project Story
Overview
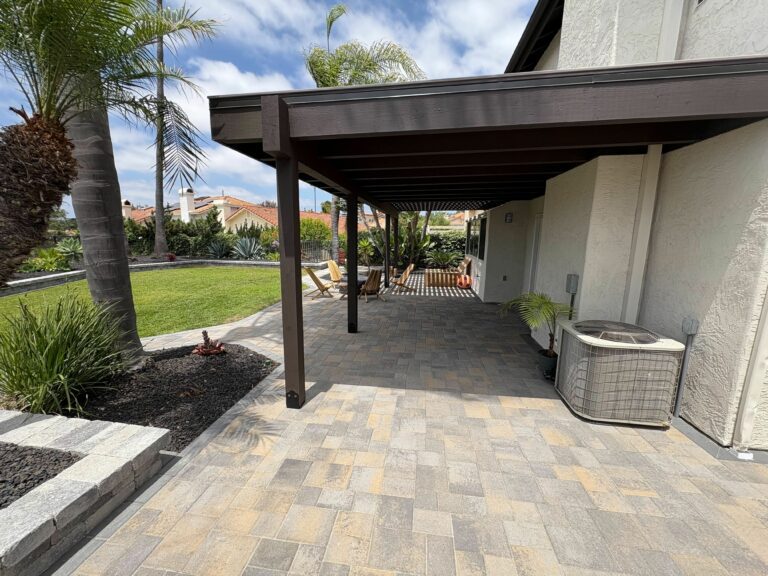
This Oceanside backyard went from broken concrete and bare dirt to a finished paver patio with sod, drainage, and sealed pavers. The project covered 977 square feet of interlocking pavers in a mixed-tone modular pattern. Work included demolition of an old pergola and concrete footings, base prep, drainage, and a final sealer coat.
We're really happy with how the backyard turned out. Everything feels more connected and usable, and the new layout finally makes sense for how we use the space.
The Challenge
- The existing concrete patio had deteriorated to the point where the surface was cracked and uneven, making the backyard difficult to use.
- An old pergola over the patio had reached the end of its life and needed full demolition before any new work could begin.
- Poor drainage left the backyard prone to water sitting against the house foundation after rain.
What Changed
How INSTALL-IT-DIRECT Helped
Over 1,000 five-star reviews and 1,500+ San Diego homeowners served.
Design & Build
The Plan
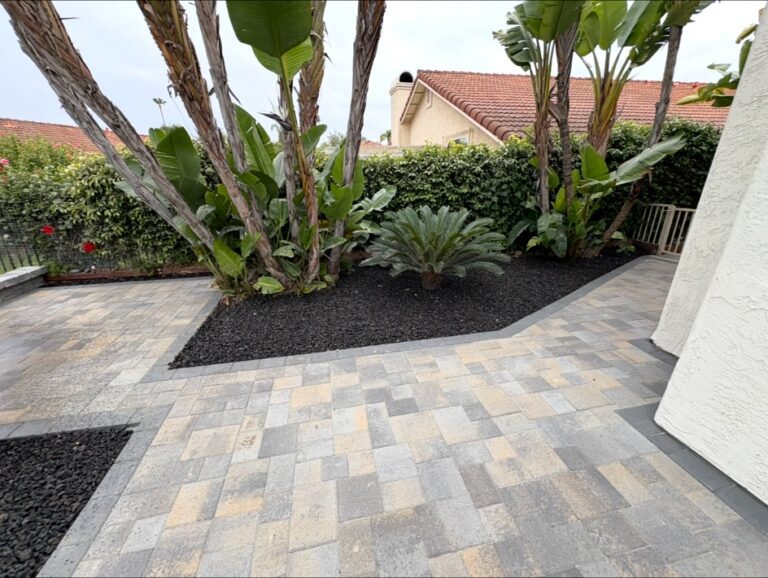
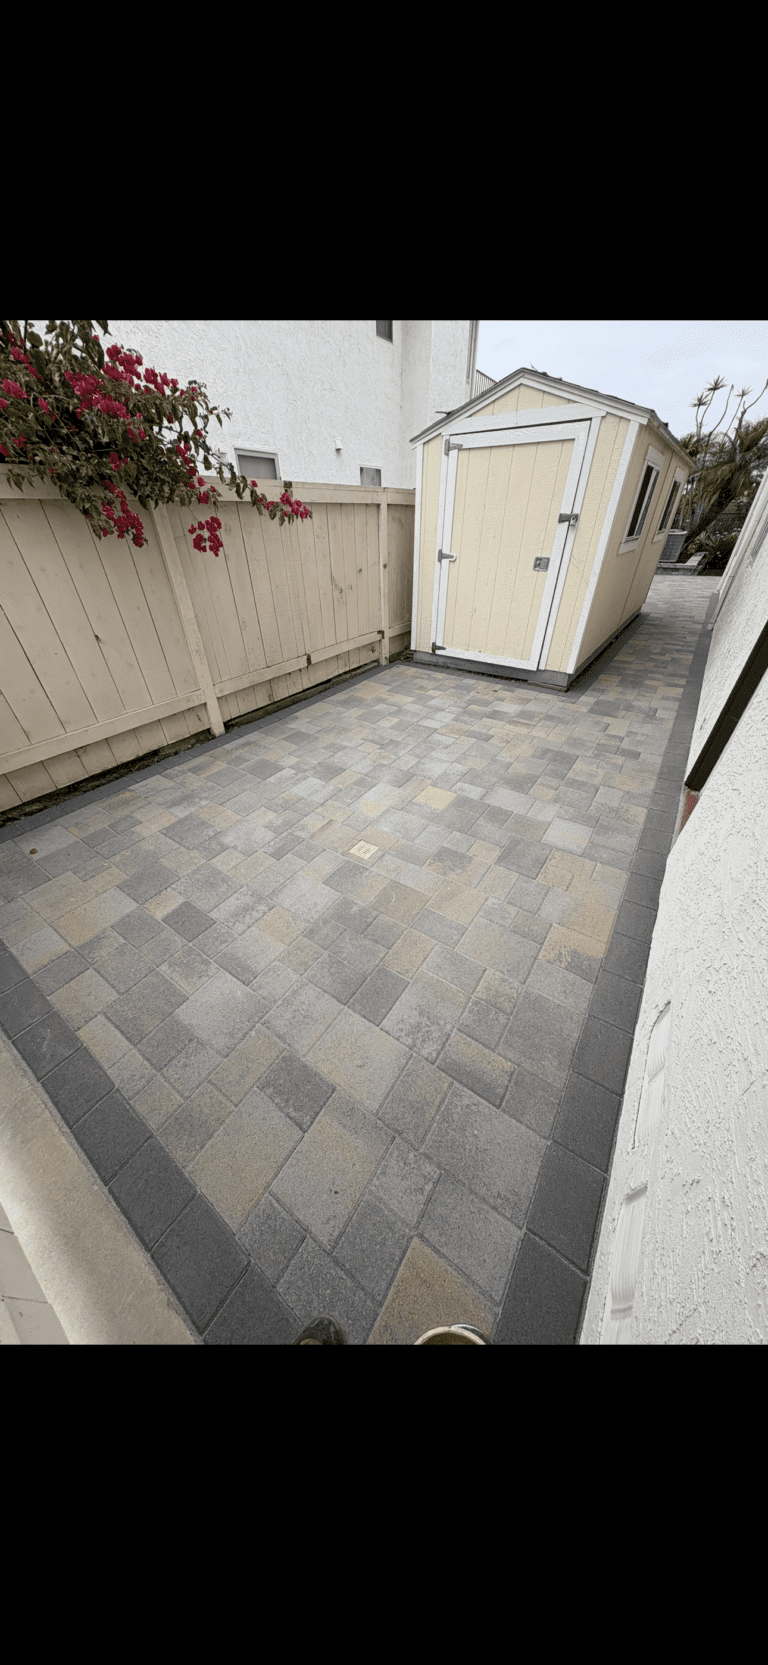
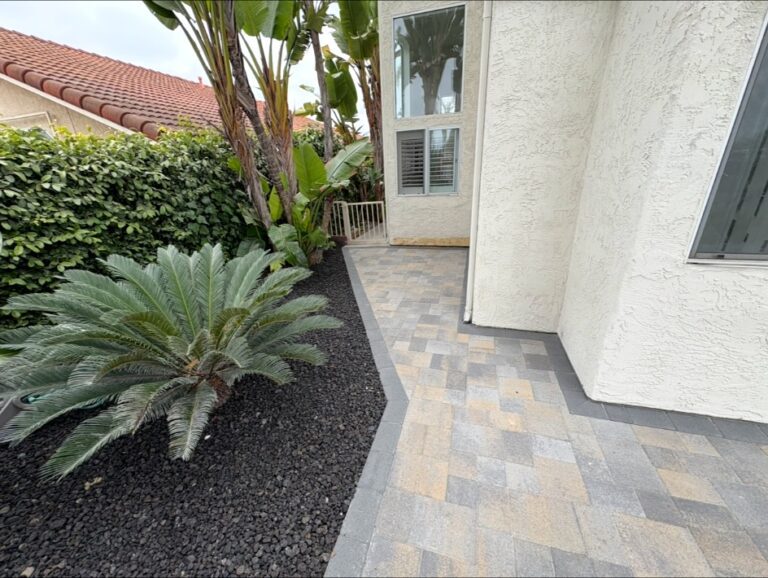
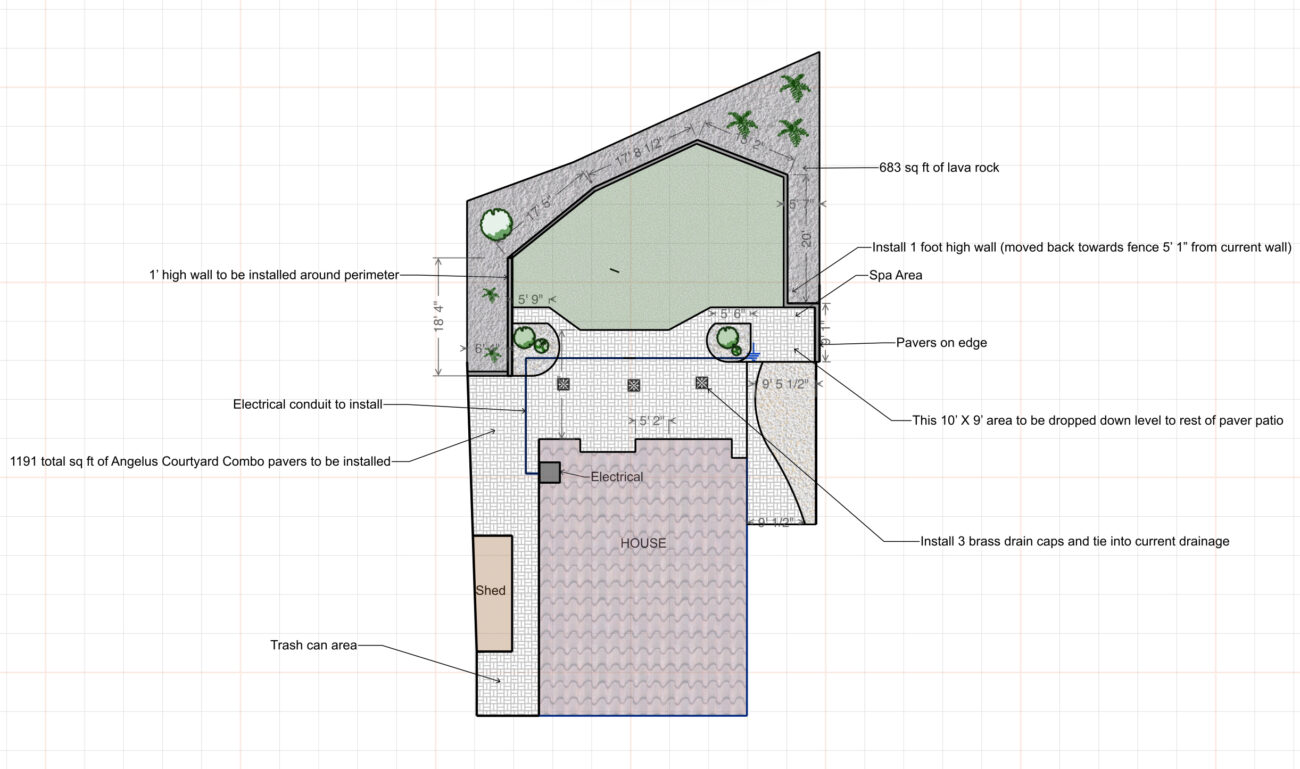
Angelus Courtyard Combo (Standard) 60MM pavers selected in a mixed light-tone field with a contrasting dark border course running the perimeter and around a tree well
Mixed-size modular ashlar-style pattern across the 977 sf field, with a soldier-course edge restraint at transitions
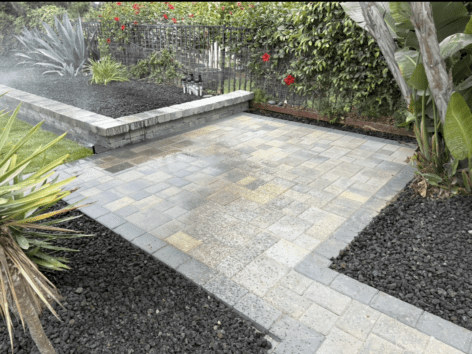
Low segmental retaining wall with concrete capstones installed to define a raised planting bed along one edge of the patio
Drainage system routed through the patio field with PVC stub-ups positioned at base-prep stage and flow verified before pavers were set
Grading and base prep executed to slope requirements, directing surface water away from the foundation
Techniseal JS or BP Pro Enhanced sealer applied after sod stabilized, providing a natural-look semi-gloss finish with joint stabilization
See the 2D plan drawing
The Build
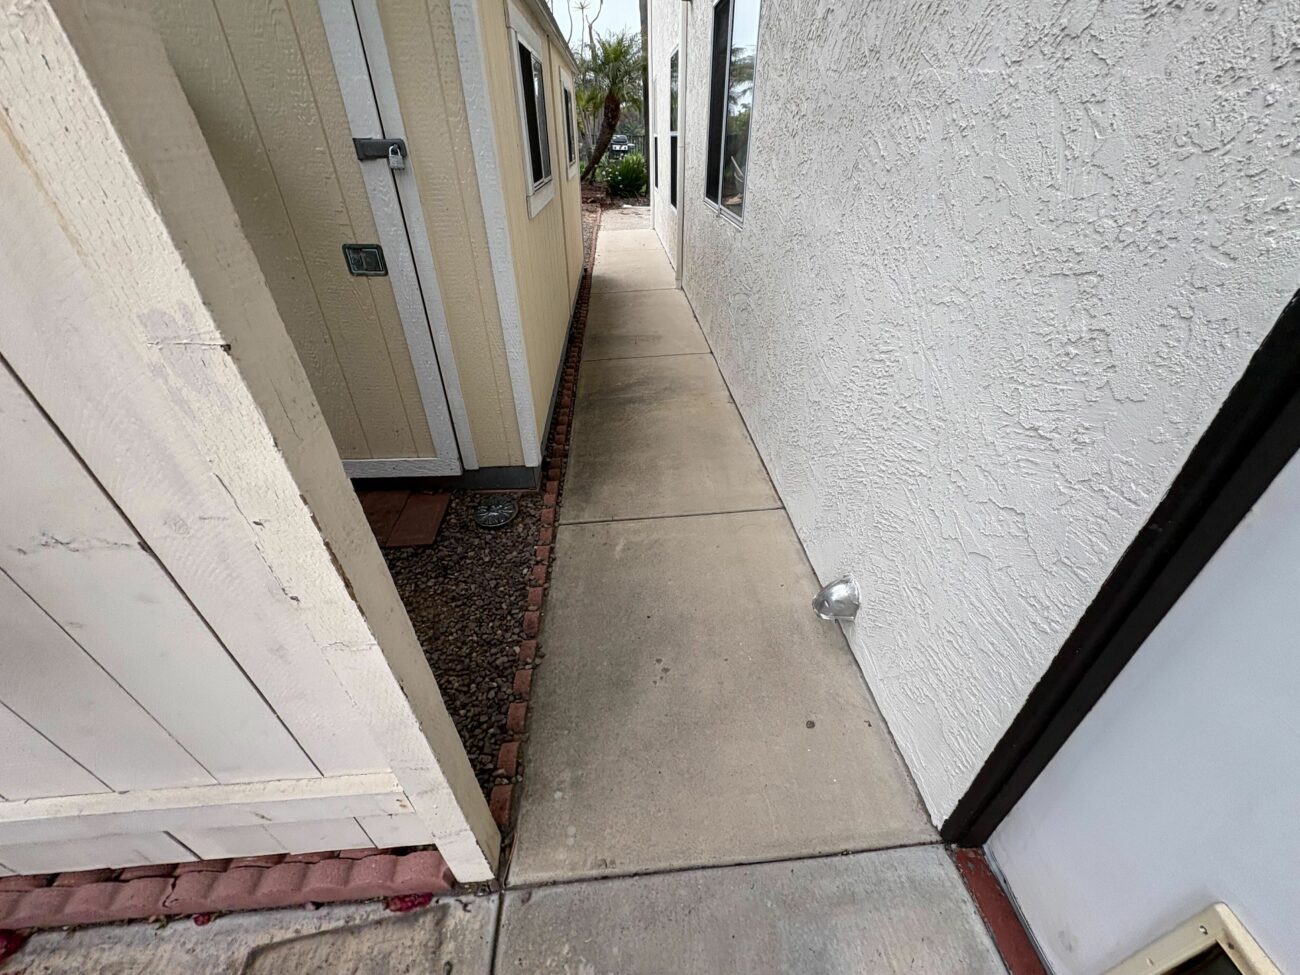
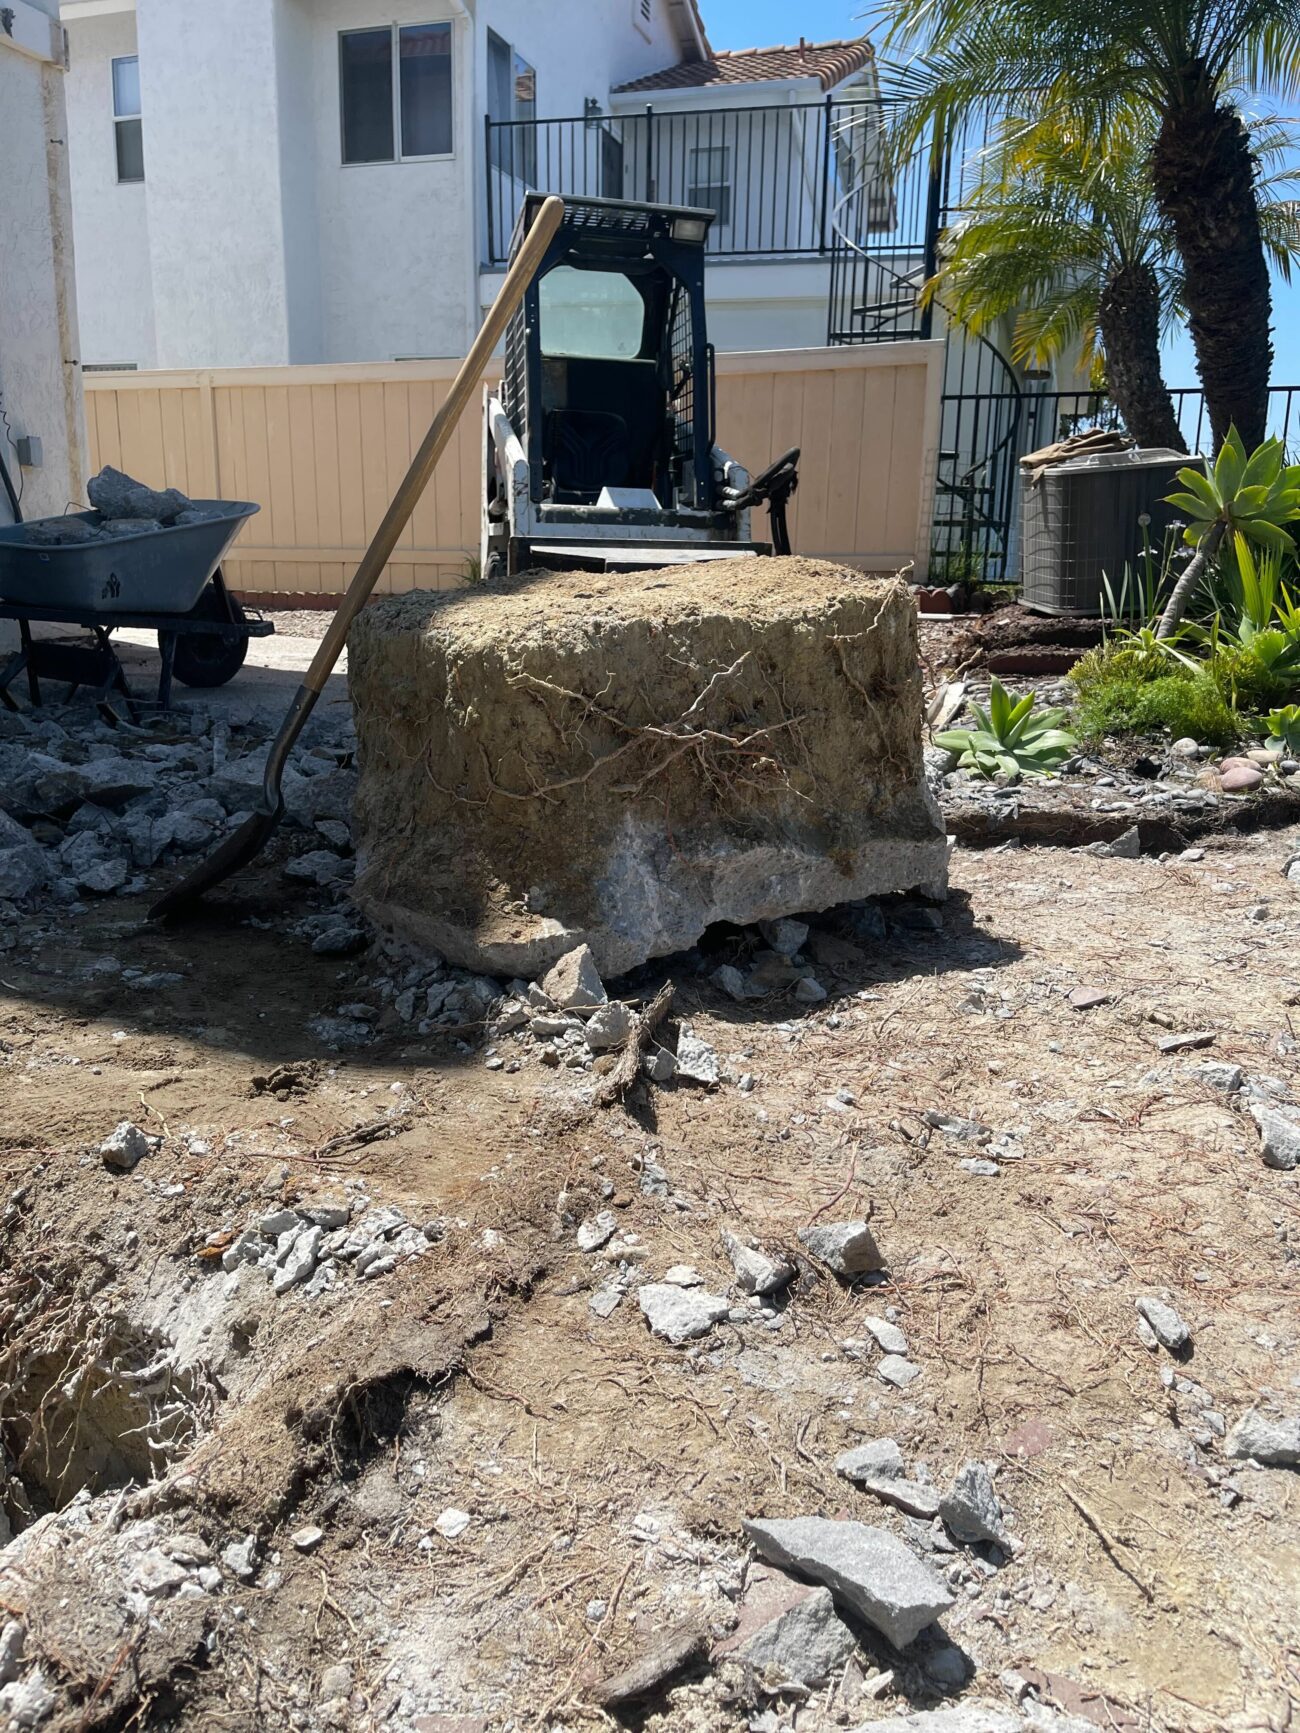
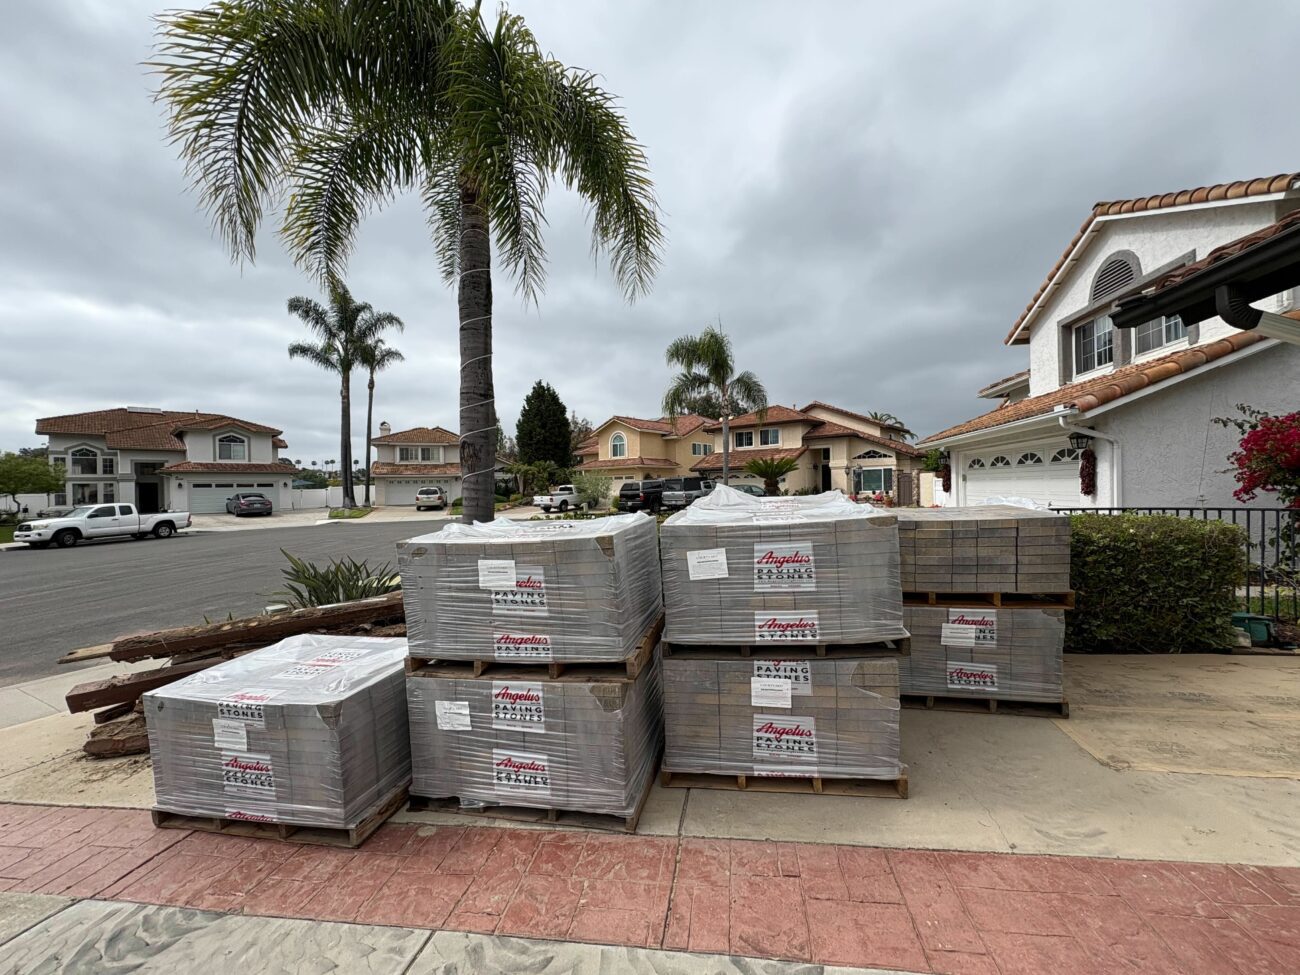
Demolition
Work began with full demolition of the existing pergola, stripping roof sheathing and fascia before removing the posts. The concrete patio slab followed, with buried footings requiring a masonry cutoff saw and over an hour of cutting per footing. A skid steer hauled debris from the site.
Drainage and Base Prep
With the slab gone, the crew excavated to depth, graded the subbase, and positioned PVC drain stubs through the footprint. Crushed aggregate base was spread, compacted, and screeded to a 1-inch sand bed. A Jacuzzi pad area received 2 extra inches of base. Flow was verified at this stage before any pavers were set.
Paver Installation
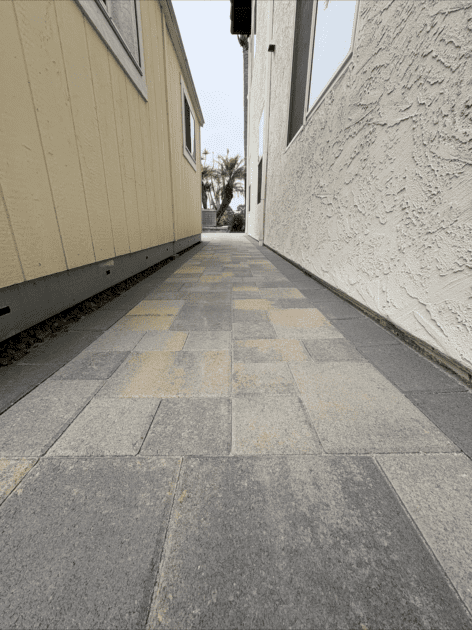
Pavers went down starting mid-project, with the field pattern and border course installed simultaneously. The side yard section was worked in parallel with the main patio. A dark contrasting border framed the tree well and perimeter. Polymeric sand was swept in and the surface was compacted.
Sod and Segmental Wall
Sod was installed in the lawn area adjacent to the patio, and the segmental retaining wall with capstones was completed to define the raised planting bed. The sod crew coordinated watering schedules with the project manager to allow the moisture level near the pavers to drop before sealing.
Sealer and Final Walk
Once the sod stabilized and moisture levels allowed, Techniseal sealer was applied across the full paved surface. A staining issue found on several pavers was addressed with a cleaning visit before the final inspection. Troy MacMillan completed the quality verification and closed out the project.
Investment
What would a similar project cost in Oceanside?
Toggle components on/off to estimate your project
Frequently Asked Questions
How much does a paver patio cost in Oceanside, CA?
A project similar to this one in Oceanside, covering roughly 977 square feet of interlocking pavers with demo, drainage, sod, and sealer, falls in the $34,000 to $42,000 range. Cost drivers include demo complexity, drainage requirements, base depth, and paver grade. Simpler jobs without pergola demolition or dense footing removal come in lower.
Do paver patios in Oceanside require a permit?
Paver patios generally do not require a building permit in the City of Oceanside. Retaining walls over 3 feet (measured from footing top to wall top) do require a permit under San Diego-area code. The low segmental wall on this project was built within the unpermitted height threshold. Always confirm with your local jurisdiction before starting.
How do I maintain a sealed paver patio?
This patio was sealed with Techniseal, a joint-stabilizing sealer that hardens polymeric sand and protects the paver surface. Routine maintenance involves hosing off debris, avoiding pressure washing the joints directly, and resealing every three to five years depending on sun exposure and foot traffic. Inland Oceanside's dry climate is relatively easy on sealers compared to coastal locations.
How long does a paver patio installation take in Oceanside?
This project ran about 10 weeks from demo start to final inspection. The paver field itself went in over roughly two to three weeks. Extra time came from dense footing demolition and a two-week sealer delay after sod installation. A straightforward paver job without those factors typically runs four to six weeks.
What pavers were used in this Oceanside project?
The patio used Angelus Courtyard Combo pavers in the 60MM Standard format. The field was installed in a mixed-size modular pattern with a contrasting darker border course around the perimeter and a tree well. Angelus is a California manufacturer, which keeps material lead times short and the product is suited to the inland San Diego climate.
Can you install pavers in a narrow side yard?
Yes, and this project included exactly that. The side yard at this Oceanside home was paved in the same Angelus Courtyard Combo pattern as the main patio, connecting the areas visually. Narrow access limited equipment movement, so crews used a combination of a small skid steer for the main area and hand tools for the tighter sections.
Your Outdoor Project in 3 Simple Steps
Design
We listen to your vision, assess your space, and create a custom design that fits your lifestyle and budget.
Build
Our experienced crews bring the design to life with premium materials and expert craftsmanship.
Enjoy
Step into your transformed outdoor space and start making memories with family and friends.
Your Project Manager

Troy MacMillan
A San Diego native with more than 20 years in landscape construction, Troy brings seasoned craftsmanship to every build. A devoted husband and father of two, he carries the same care from the job site to his weekend farm.
More Projects
More from Troy MacMillan
Eastlake Front and Side Yard: Turf, Rock and a Refreshed Planter
Chula Vista
Vista Front Yard with a Putting Green and Belgard Pavers
Vista
Front Yard Pavers, Steps and a Rebuilt Rustic Wall in San Diego
San Diego
Worn Concrete Replaced with Angelus Pavers in San Diego
San Diego
Paver Patio + Turf Backyard, Mira Mesa San Diego
San Diego
Turf, River Rock & Pavers: Carlsbad Front Yard
Carlsbad
Ready to Transform Your Outdoor Space?
Let's discuss your project and bring your vision to life.