Drainage First, Then a Patio — Bonita
Project Gallery
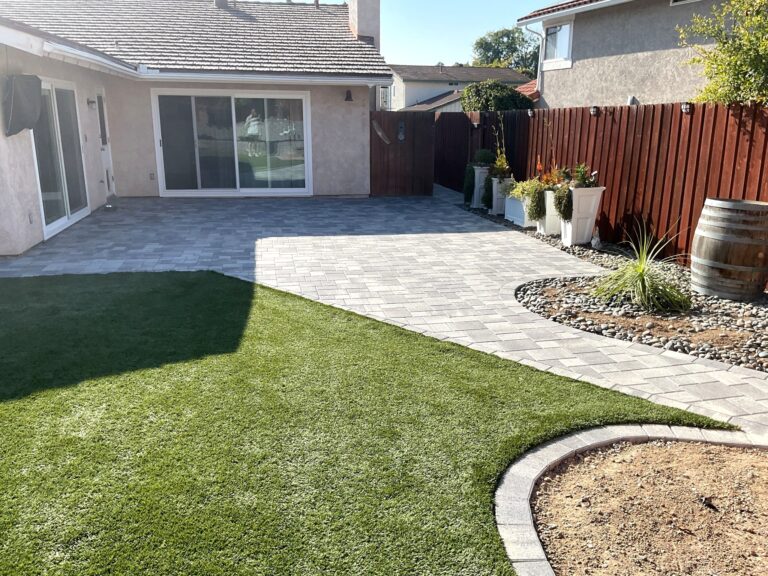
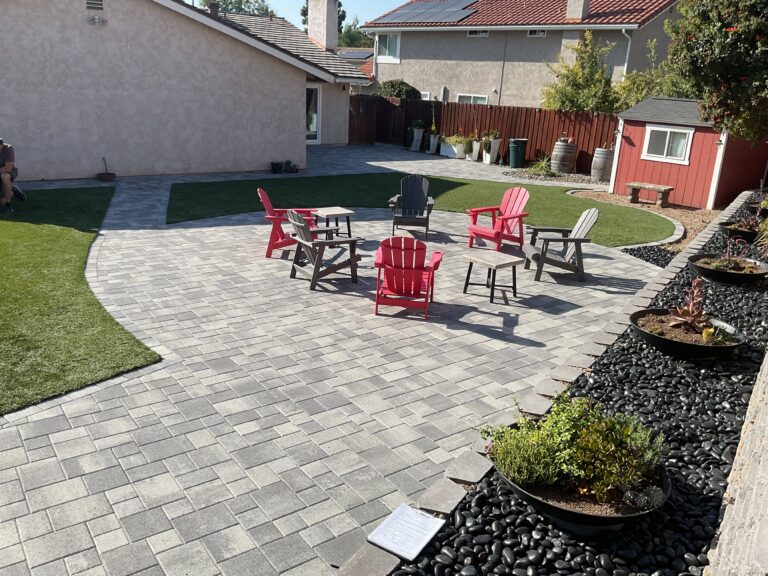
Looking back from the house corner — the same paver field, the turf lawn, the segmental wall along the rear grade.
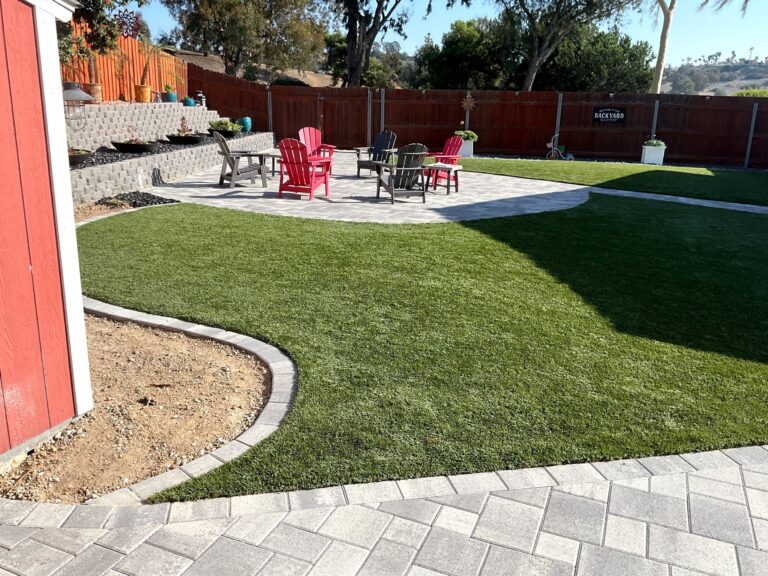
From the shed corner — turf lawn, paver seating circle, segmental wall. The bare planter on the left will plant out this spring.
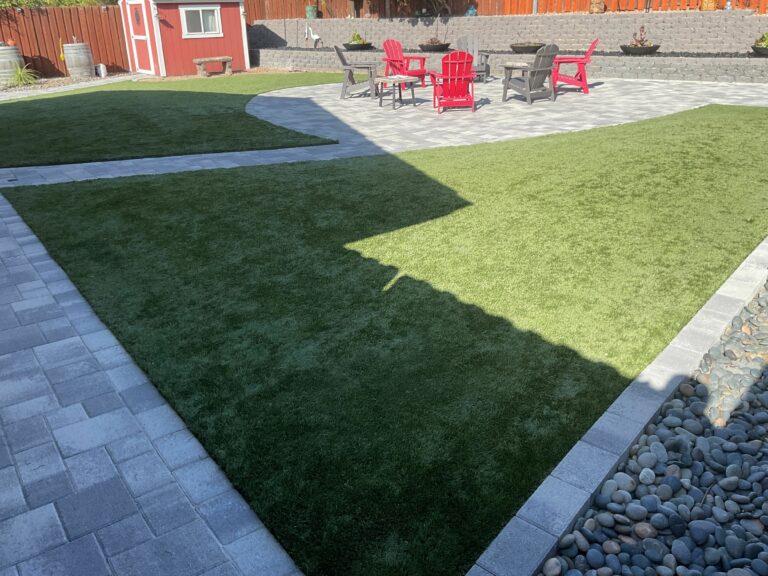
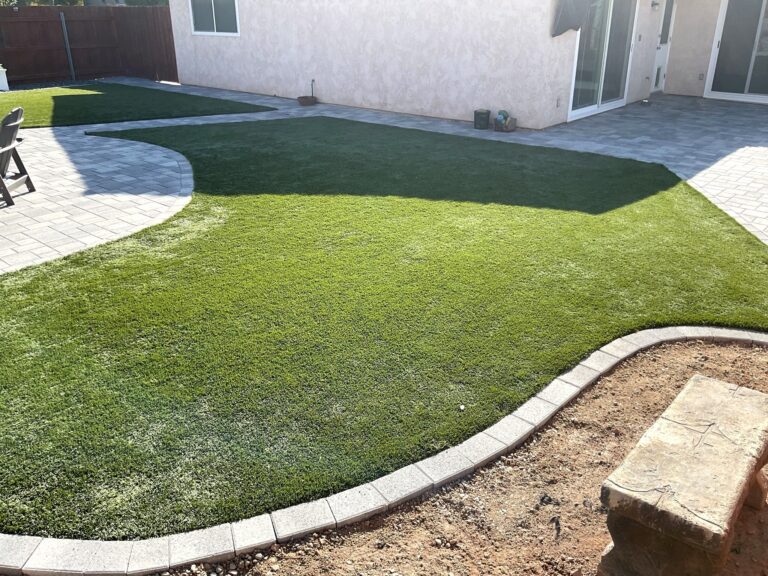
The same elevated vantage: new paver field, soldier-course border at the turf edge, and the segmental wall holding the rear grade.
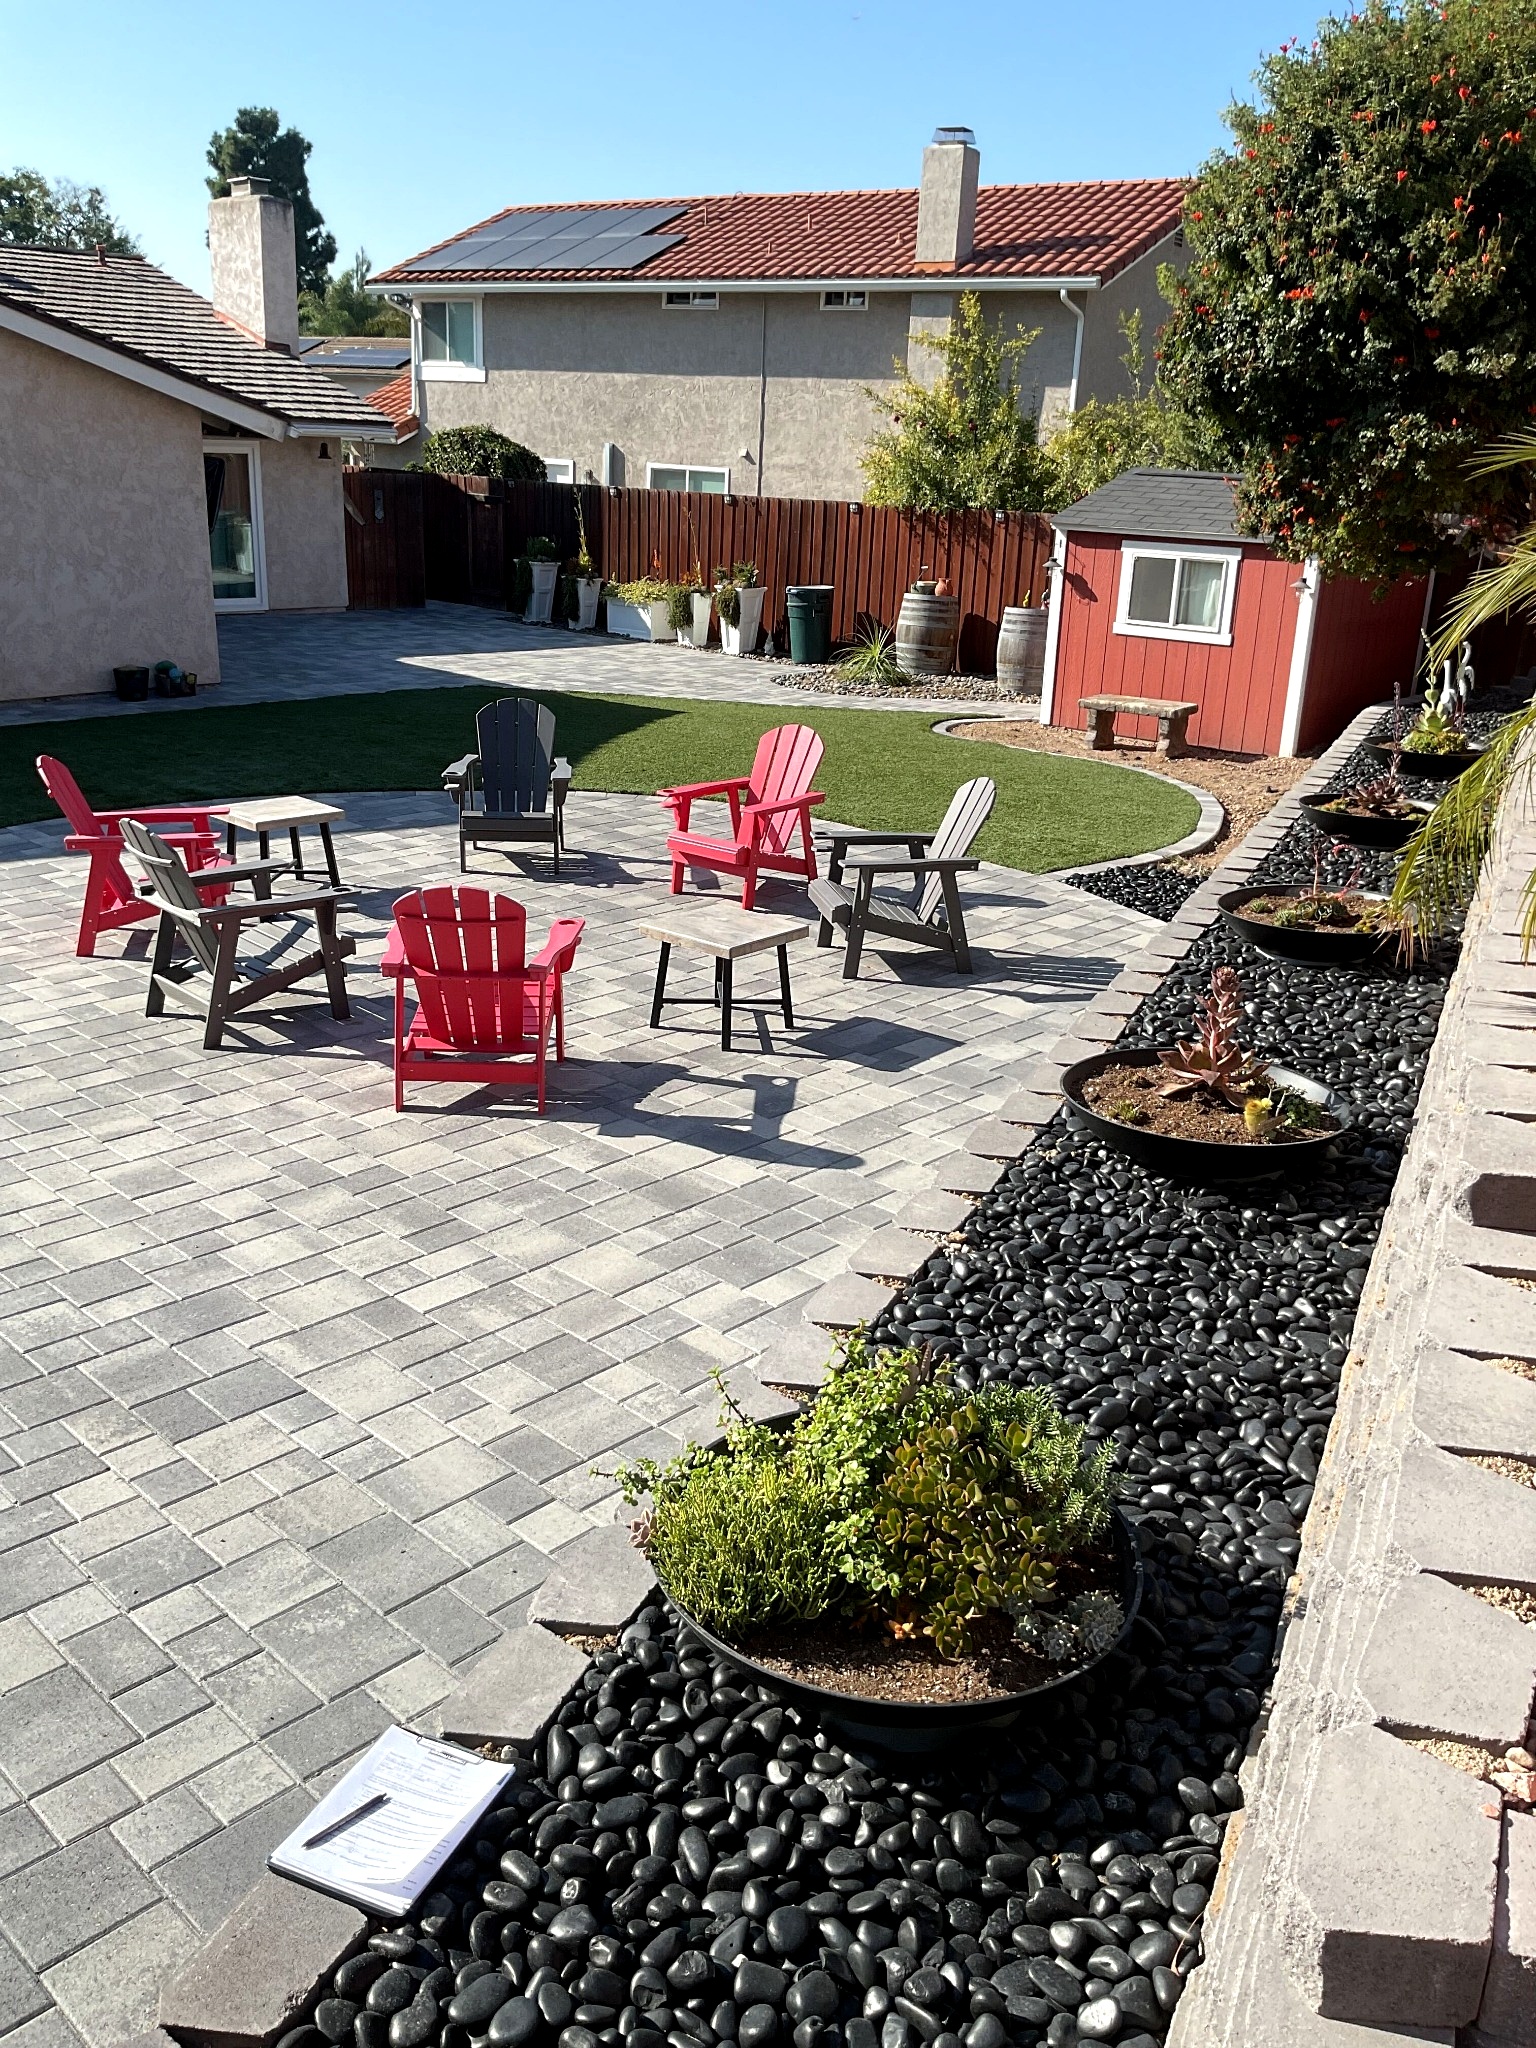
Same vantage. The seating circle, the Adirondacks, the gas fire pit. Seven surface drains keep the water where it belongs.

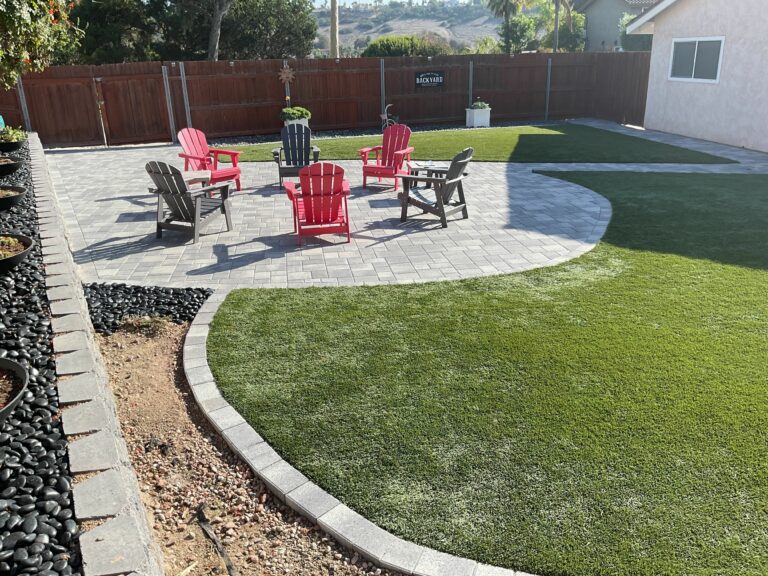
Finished backyard showing a gray interlocking paver patio and curved paver walkway with clean joints and defined edging, adjacent to newly installed artificial turf. A segmental retaining wall with tiered planting beds borders the yard and a central fire pit seating area with chairs sits on the patio.
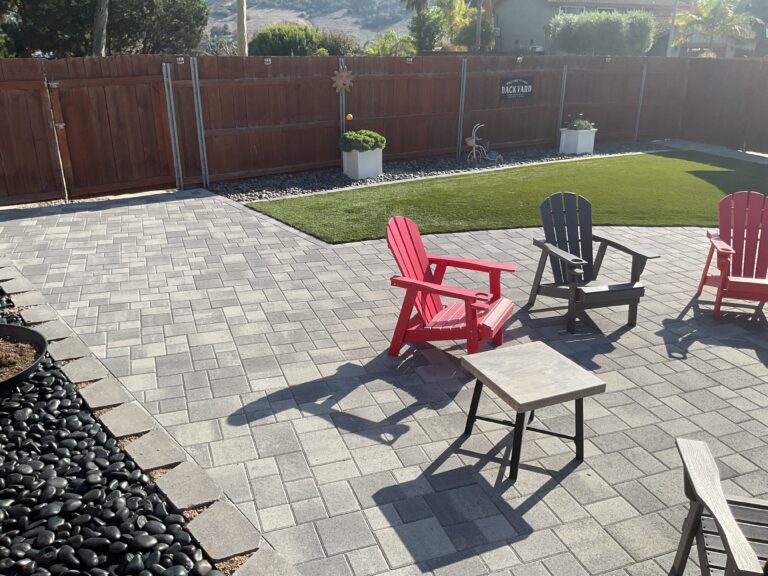
Finished backyard showing a large interlocking paver patio adjacent to a rectangular artificial turf lawn with a river-rock border. Adirondack chairs and a small table sit on the clean, jointed pavers next to planters and a wood privacy fence, indicating a completed landscape installation.
Finished backyard showing interlocking paver patio with adjacent artificial turf inserts and a low segmental retaining wall lined with black decorative rock and planters. Patio is furnished with Adirondack chairs and small tables; surface appears clean with finished joints suggesting project completion and a final walkthrough.
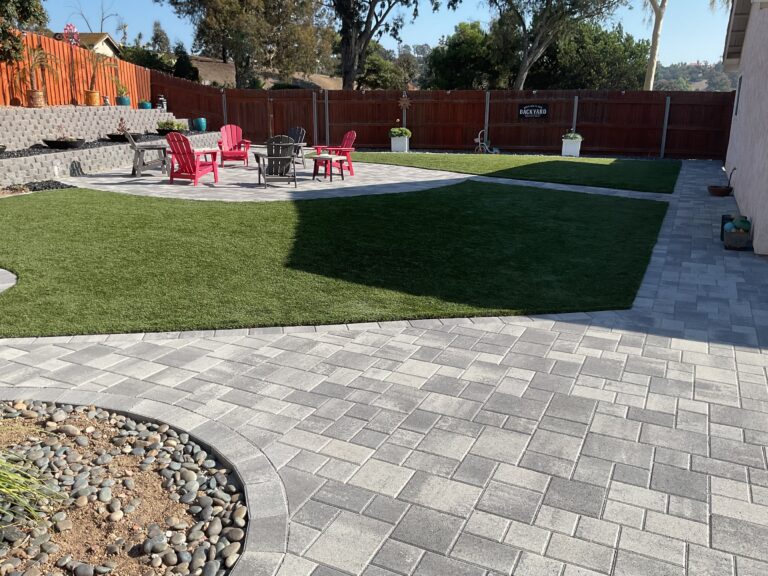
Finished backyard showing an interlocking paver patio and perimeter walkway with a circular paver seating/fire pit pad. The lawn area is artificial turf bordered by a segmental retaining wall with terraces and decorative river rock at the planting edge.
Project Snapshot
Project Story
Overview
In Bonita, a backyard that couldn't hold water became interlocking pavers, an artificial turf lawn, and 120 linear feet of buried drain line with seven surface drains. The drain network went in before a single paver came off the pallet. Eight working days on site, finished across an eleven-day calendar span.
Water used to sit in the yard for days and now it just drains and we use the patio.
The Challenge
- After heavy rain, water pooled in the courtyard and along the fence gate because the site had no surface drainage at all.
- The existing paver patio had deteriorated to the point of requiring full demolition before any new work could begin.
- The backyard offered no usable lawn space, with bare ground and hardscape leaving nowhere for casual outdoor activity.
What Changed
How INSTALL-IT-DIRECT Helped
Over 1,000 five-star reviews and 1,500+ San Diego homeowners served.
Design & Build
The Plan
Paver layout: interlocking concrete pavers in a modular ashlar/random-rectangular pattern covering the main patio area and a curved perimeter walkway
Turf placement: synthetic turf panels installed in the central lawn field and surrounding turf inserts, with a soldier-course paver mow strip at turf edges
Drainage design: four subsurface drains in the turf field, two courtyard drains, and one pop-up drain at the fence gate, all tied into 120 linear feet of buried drain line graded to discharge
Downspout integration: existing downspout connected to the new drain system to prevent concentrated discharge near the foundation
Retaining wall and planting beds: segmental block wall along the rear perimeter with river-rock-filled planting borders
Infill material: Imperial Camofill antimicrobial/pet infill applied to all turf areas by power broom
The Build
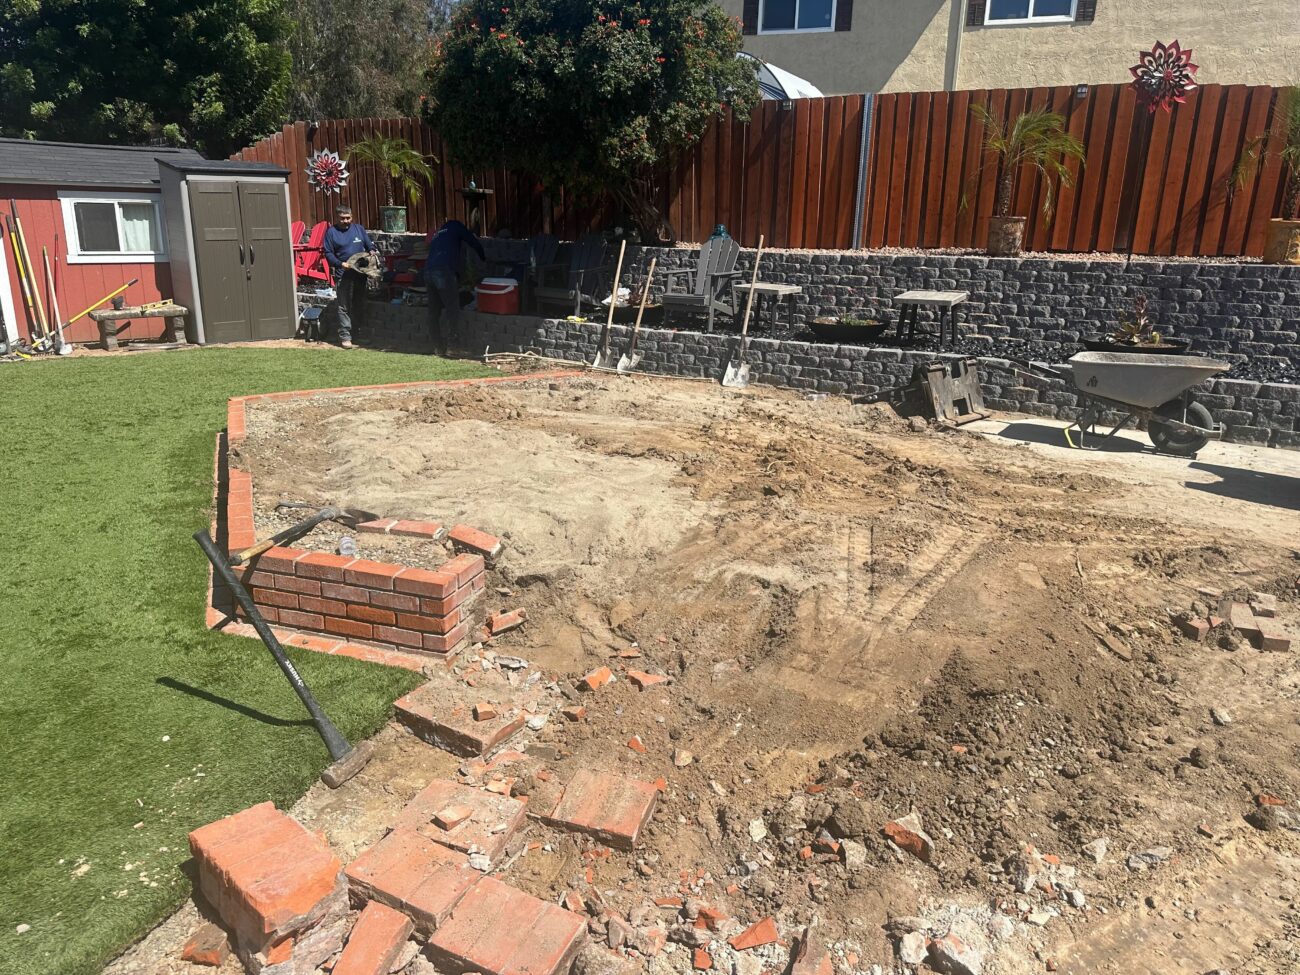

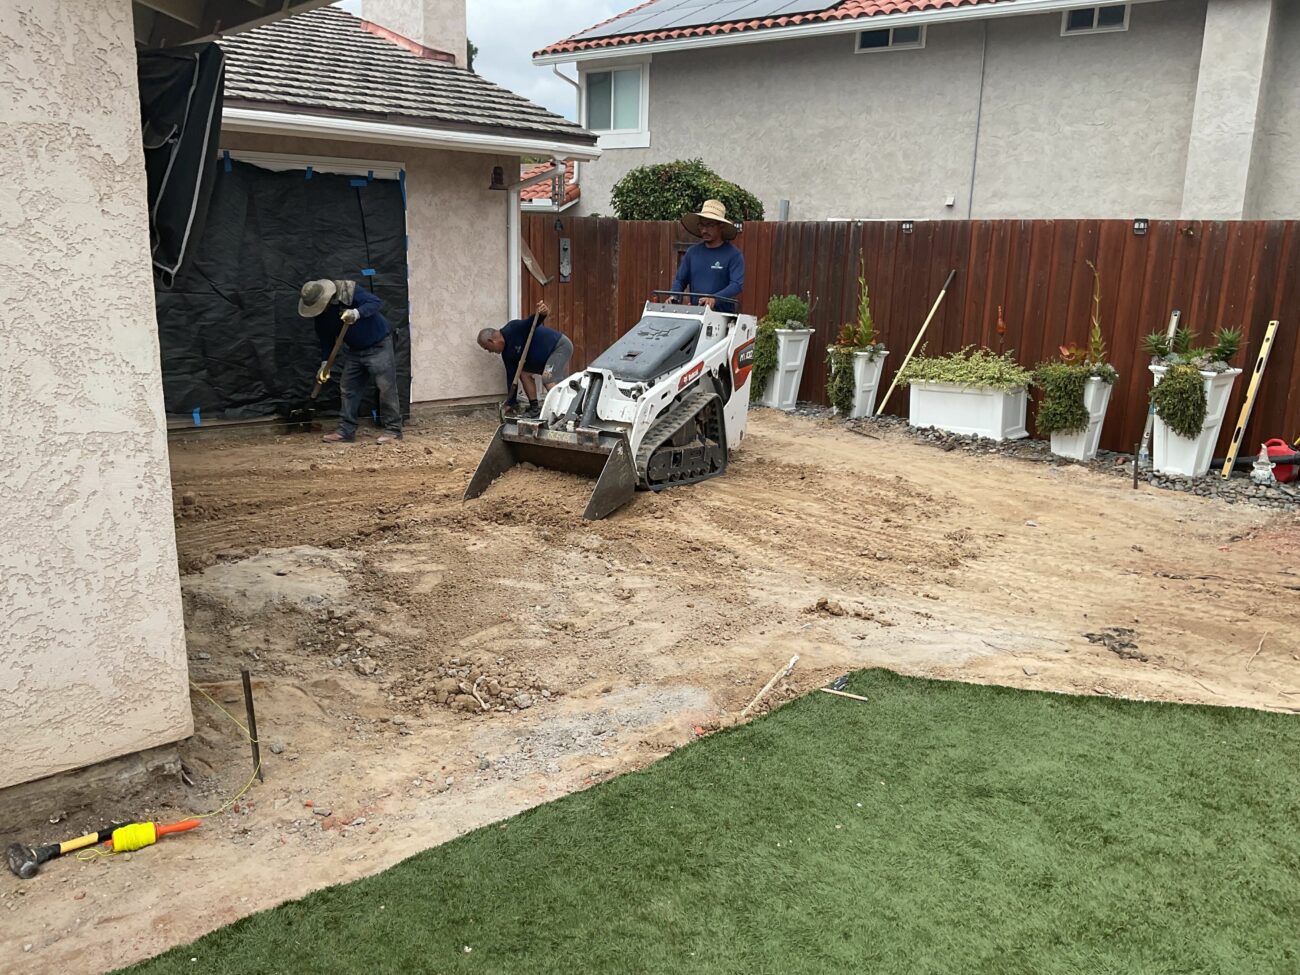
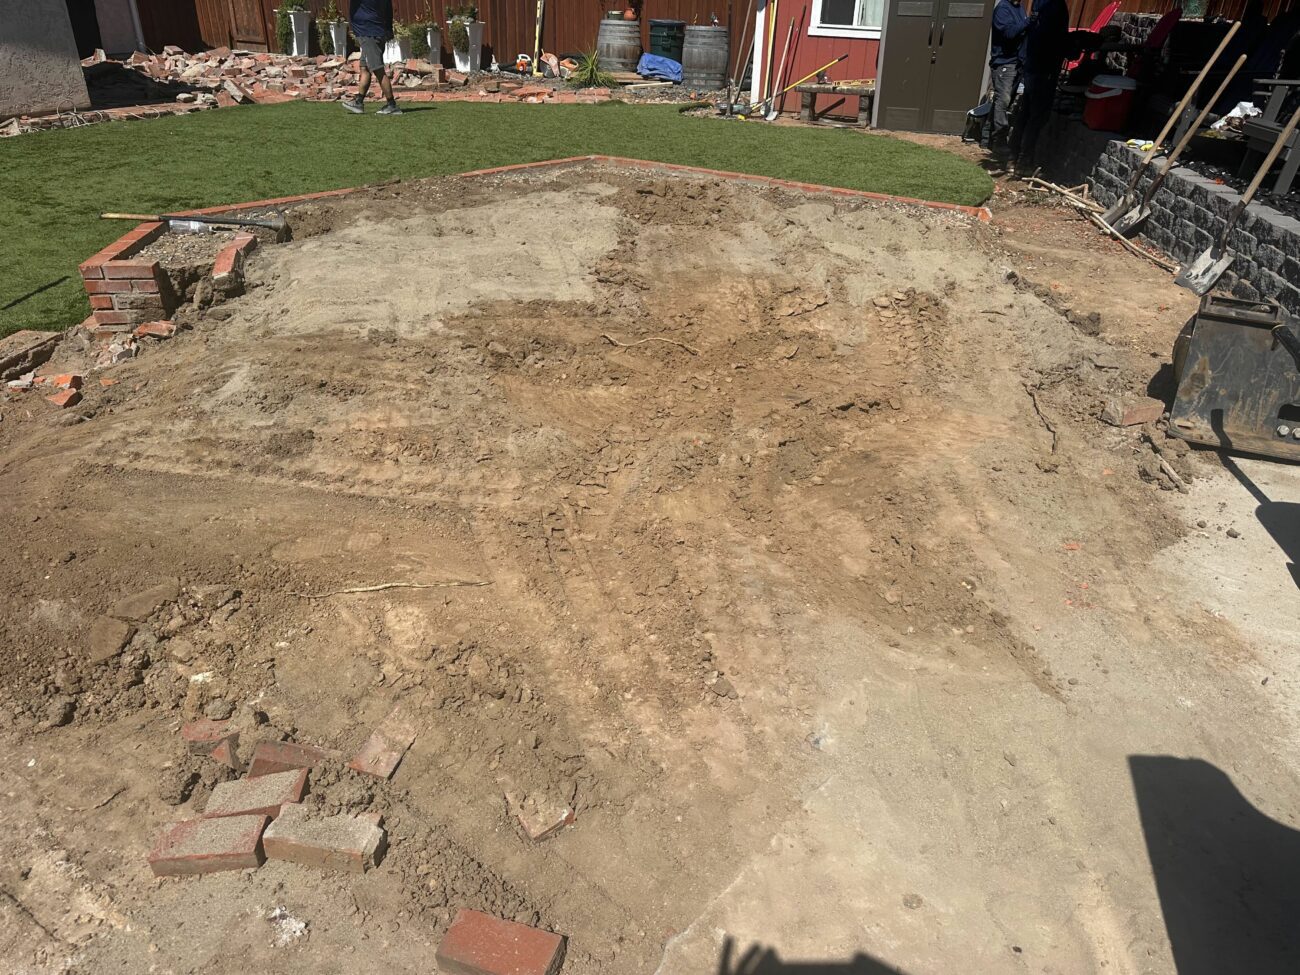
Demo and Site Work
Crew removed the deteriorated existing paver patio, hauled debris, and rough-graded the backyard. A compact track loader was used to move and level subgrade material.
Drainage Installation
After demo, the drain network went in: 120 linear feet of drain line, six drain caps across the turf and courtyard areas, and one pop-up drain at the fence gate. The downspout was tied into the system before backfill.
Base Prep and Paver Installation
Crushed aggregate base was compacted and screeded. Pavers were set in the ashlar pattern across the main patio field, then the curved walkway and soldier-course border were completed. Retaining wall blocks and river-rock borders were set in parallel.
Turf, Infill, and Final Checks
Turf panels were rolled out, seamed, and power-broomed with Imperial Camofill antimicrobial infill. Mow-strip alignment and DG compaction wrapped on the last build day, followed by a walk-through the next morning.
Investment
What would a similar project cost in Bonita?
Toggle components on/off to estimate your project
Frequently Asked Questions
How much does a paver patio and artificial turf installation cost in Bonita, CA?
A backyard project like this one in Bonita (91902) with interlocking pavers, synthetic turf, a retaining wall, and a drain system typically falls in the $47,500 to $55,000 range. Drainage requirements, demo scope, and patio size are the biggest cost drivers. This project also included roughly 120 linear feet of drainage work added during pre-construction planning.
Does an HOA in Bonita allow artificial turf?
California Civil Code Section 4735 prohibits HOAs from banning artificial turf outright. An HOA may impose quality and appearance standards, such as pile height or seam requirements, but cannot use those standards to effectively block installation. If your HOA has restrictions on record, they are likely void under state law.
What kind of drainage is needed under an artificial turf backyard?
On this Bonita lot, the site required four subsurface drains in the turf field, two courtyard drains, and a pop-up drain at the fence gate, all connected to 120 linear feet of buried drain pipe. The existing downspout was also tied into the system. California residential code requires hardscape to drain at least 6 inches over the first 10 feet away from the foundation, which dictated how the paver field was sloped.
How long does a paver and turf backyard renovation take in Bonita?
Most San Diego paver-and-turf projects of this scale run 4 to 8 weeks depending on access and drainage requirements. This Bonita build wrapped in about 8 working days of on-site work, with the drainage design finalized during pre-construction so the crew could go straight from demo into install.
What is Imperial Camofill turf infill and why is it used for pet areas?
Imperial Camofill is an antimicrobial infill used in artificial turf installations where pets will use the lawn. It controls odor and inhibits bacteria growth in the turf fibers. It is applied by power broom after the turf panels are seamed and secured, which is the process the crew used on this Bonita project.
Can an existing paver patio be demolished and replaced with new pavers and turf?
Yes. On this project, the existing clay-paver patio was fully demolished, debris was hauled off, and the subgrade was re-graded before new interlocking concrete pavers and synthetic turf were installed. A full demo-and-replace approach lets the crew correct drainage slope issues that a surface overlay cannot fix.
Your Outdoor Project in 3 Simple Steps
Design
We listen to your vision, assess your space, and create a custom design that fits your lifestyle and budget.
Build
Our experienced crews bring the design to life with premium materials and expert craftsmanship.
Enjoy
Step into your transformed outdoor space and start making memories with family and friends.
Your Project Manager

Alan Munoz
Alan has worked across many outdoor-living trades over the years, building broad hands-on expertise. He's passionate about customer service and brings care and attention to every project he takes on.
Ready to Transform Your Outdoor Space?
Let's discuss your project and bring your vision to life.