
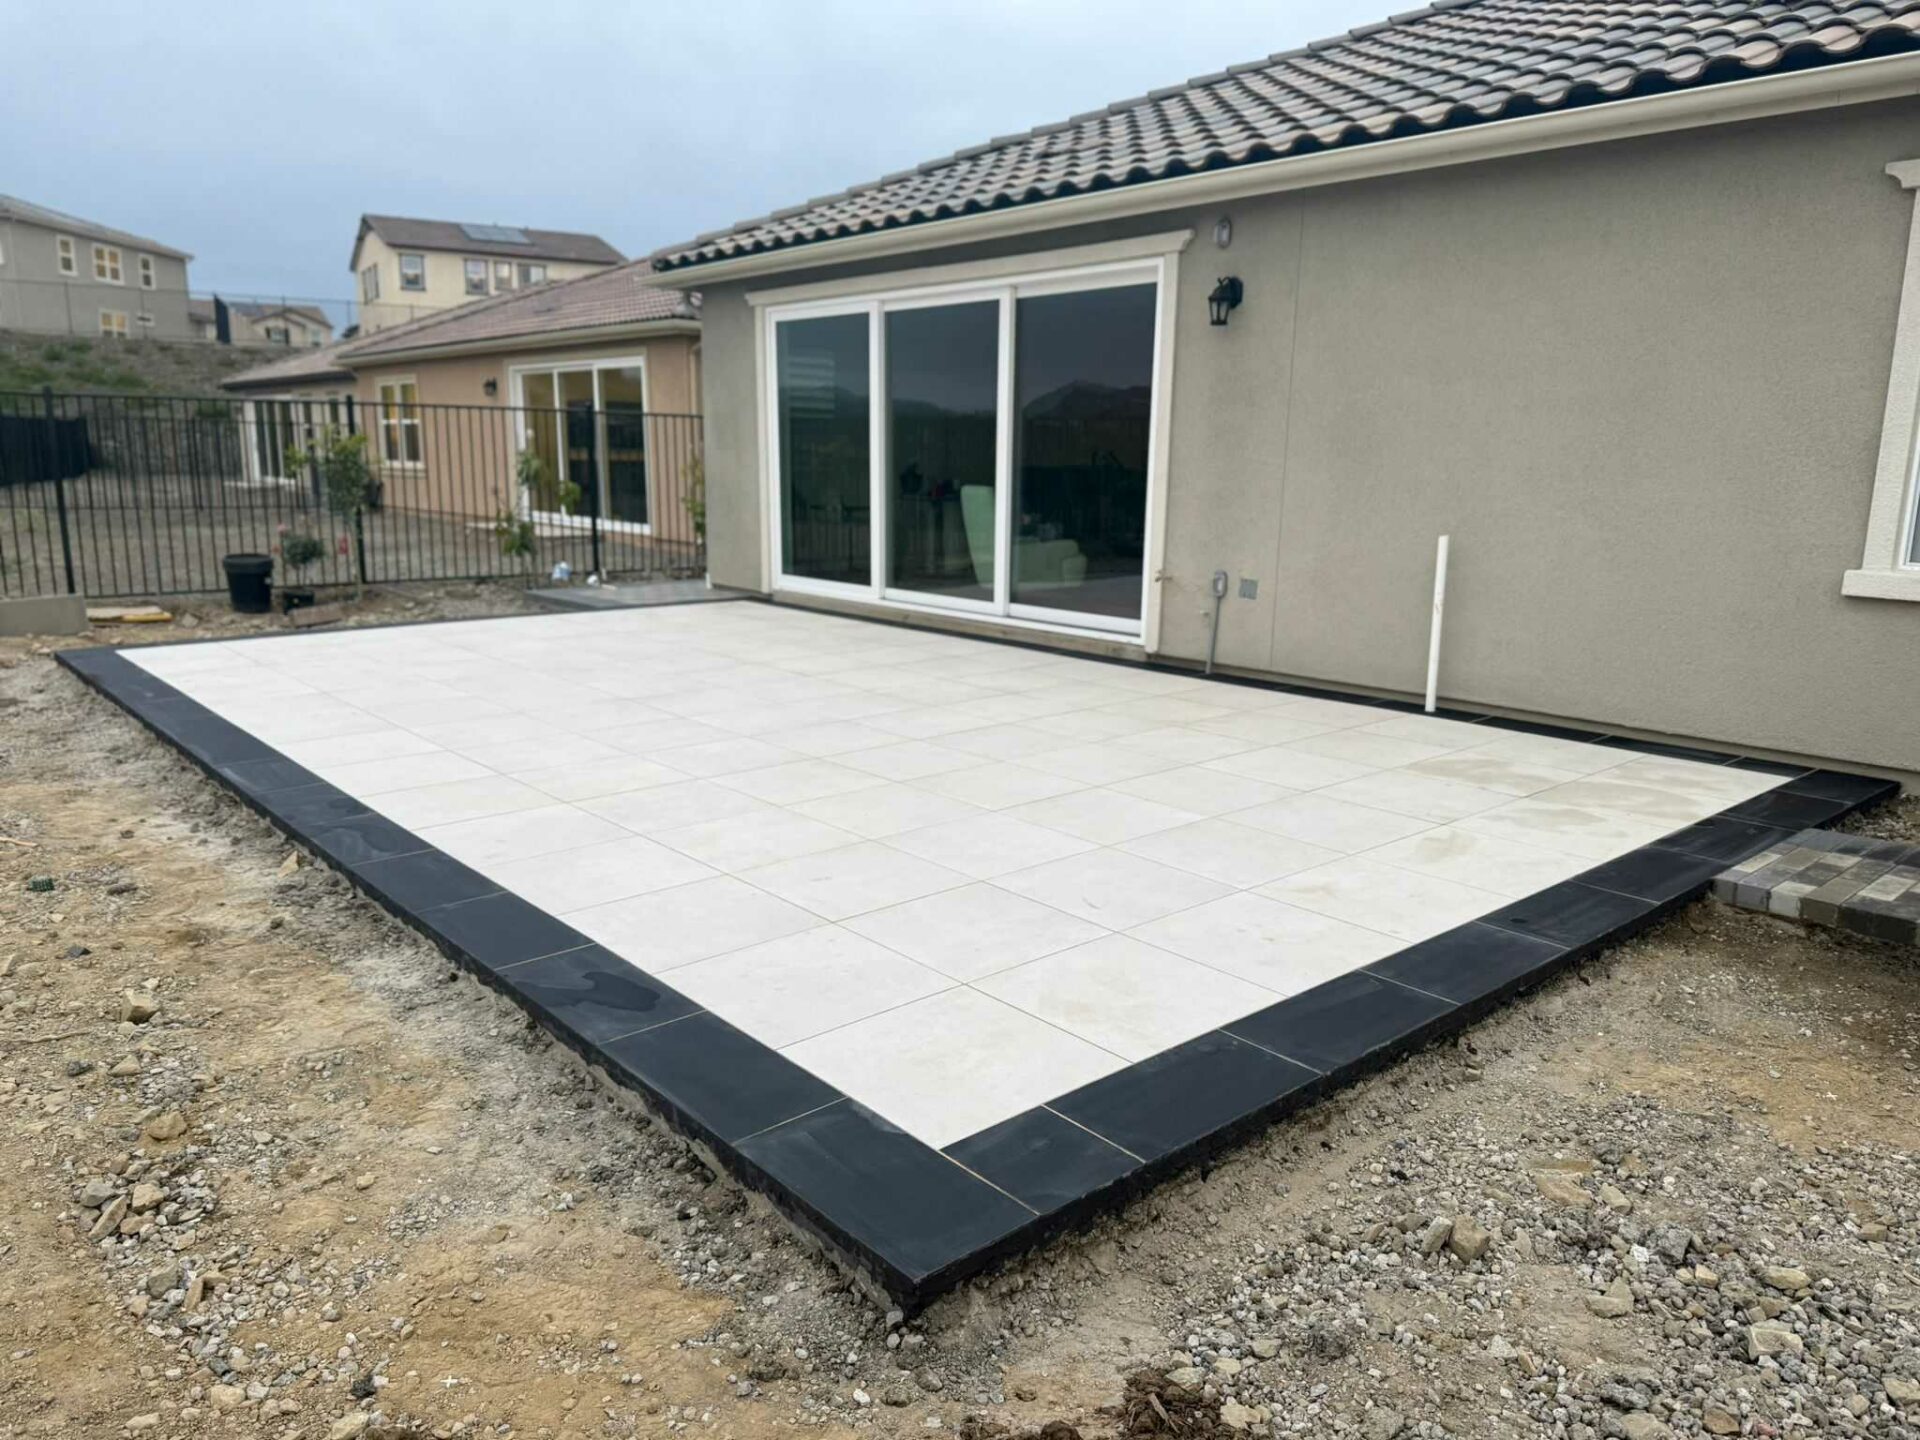
617 sf Porcelain-Style Paver Patio with a Charcoal Border in Twin Oaks Valley
This finished project was a $18k-$21k build.
Project Gallery
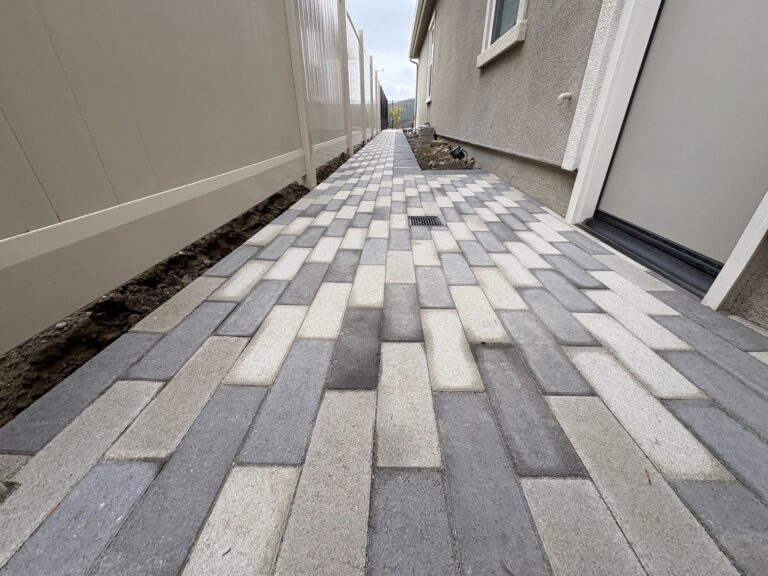
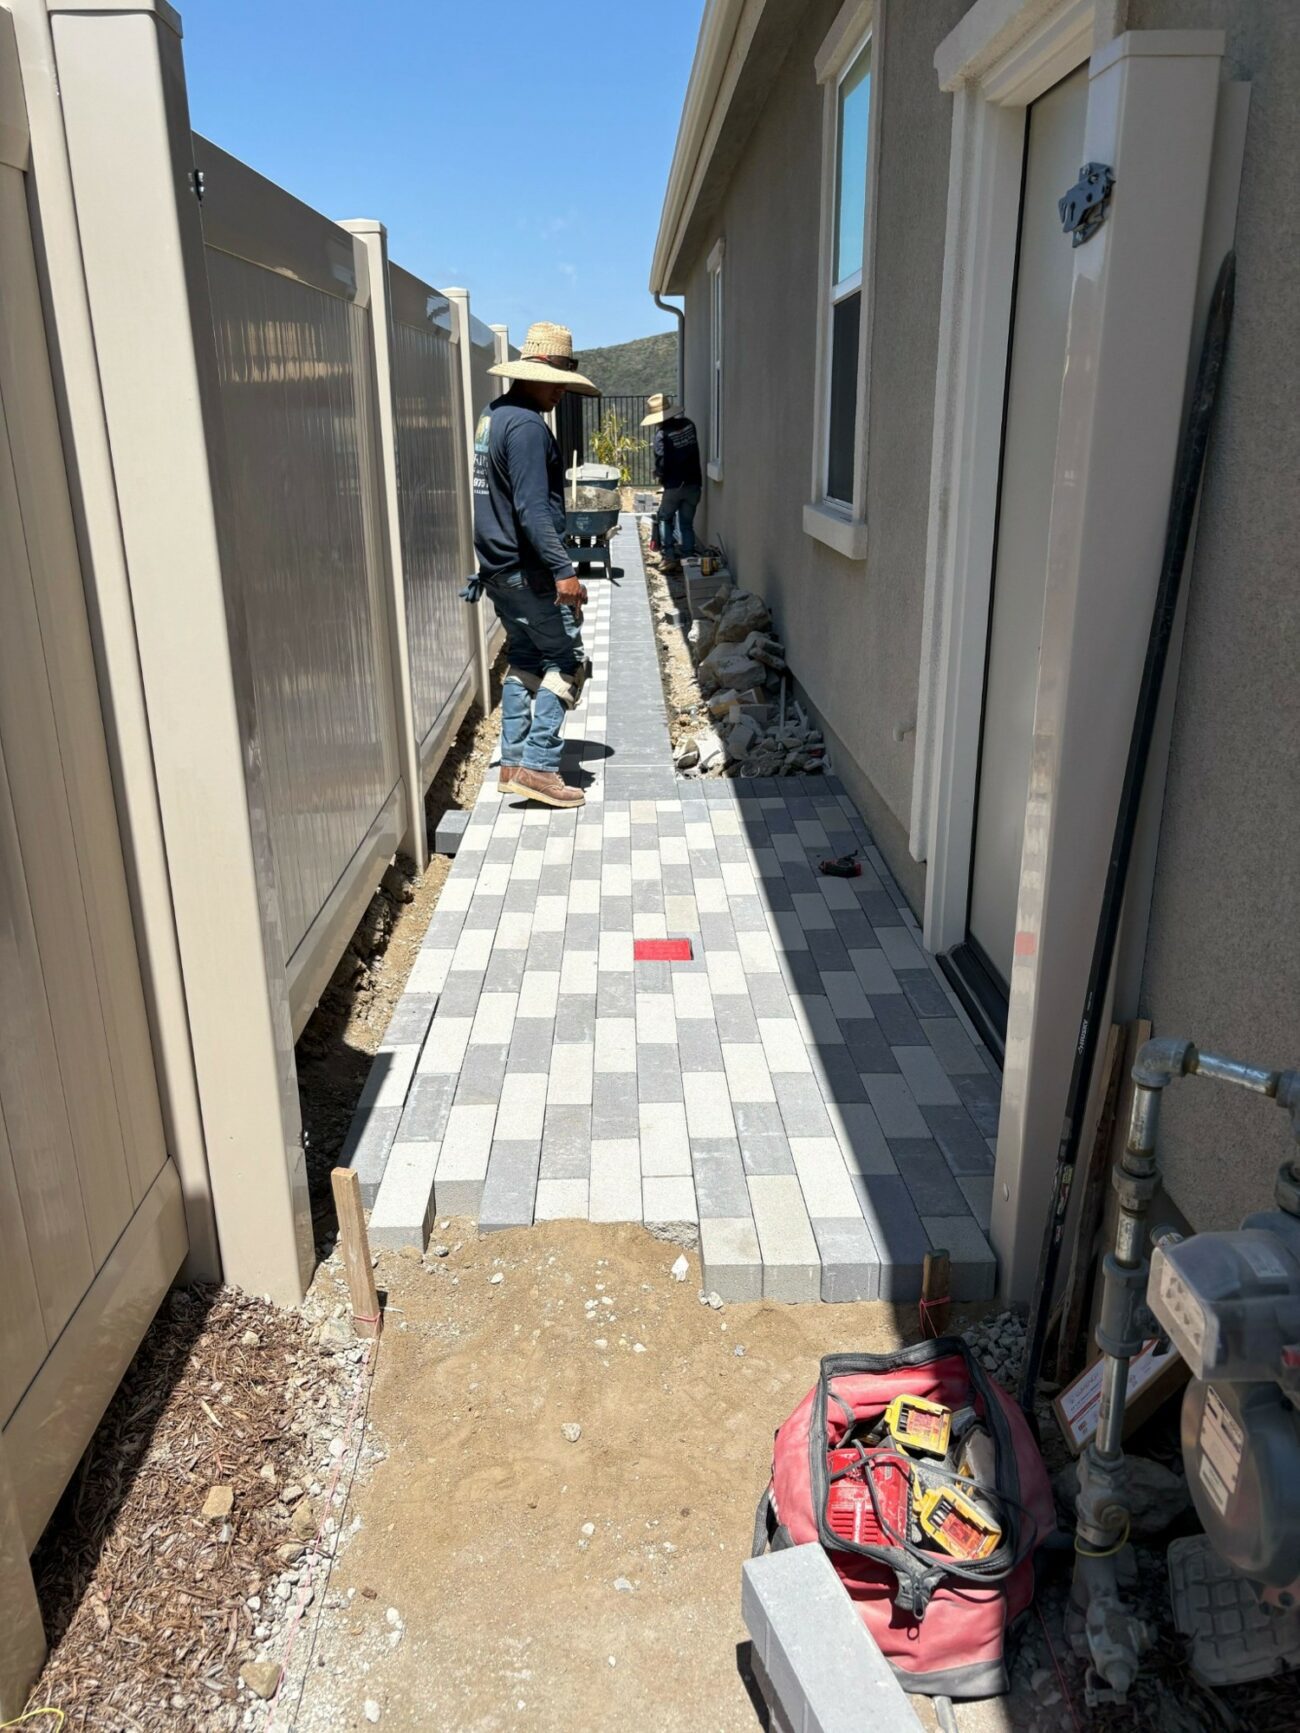
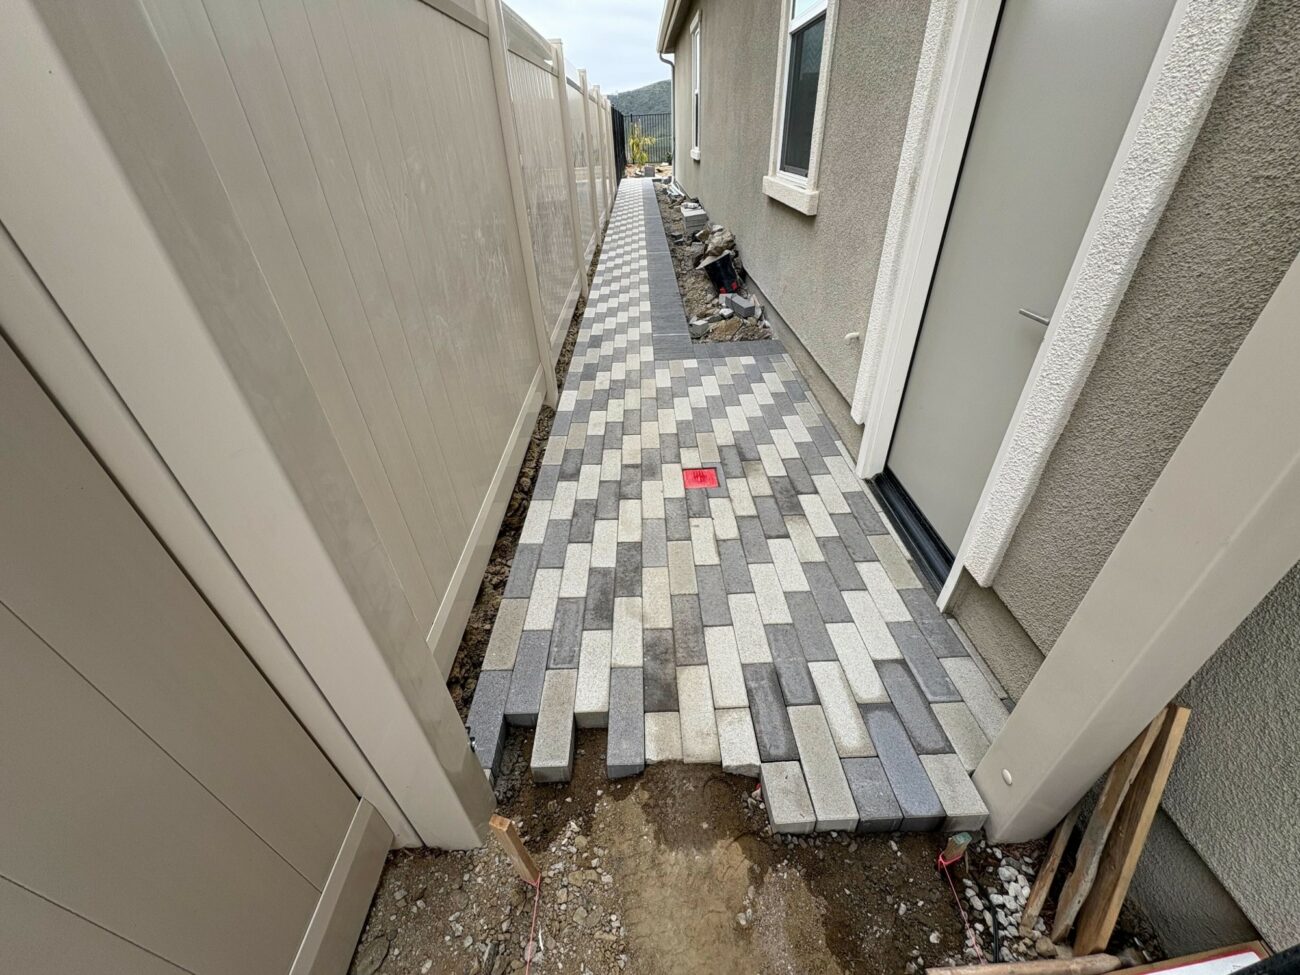
The side-yard walkway in two-tone gray-and-white concrete pavers, connecting the front and back of the property.
Project Snapshot
Project Story
Overview
Demoed a broken concrete slab and set ~617 sf of porcelain-style large-format pavers across a Twin Oaks Valley backyard in San Marcos, edged with a charcoal border accent. Paver walkways extend down both side yards over what had been bare subgrade, and twenty client-supplied paver lights were dropped into the layout during install. About a week and a half from rough-graded dirt to finished patio.
The Challenge
- Rough-graded bare dirt across the 617 sf now under interlocking pavers, leaving the yard unusable after move-in.
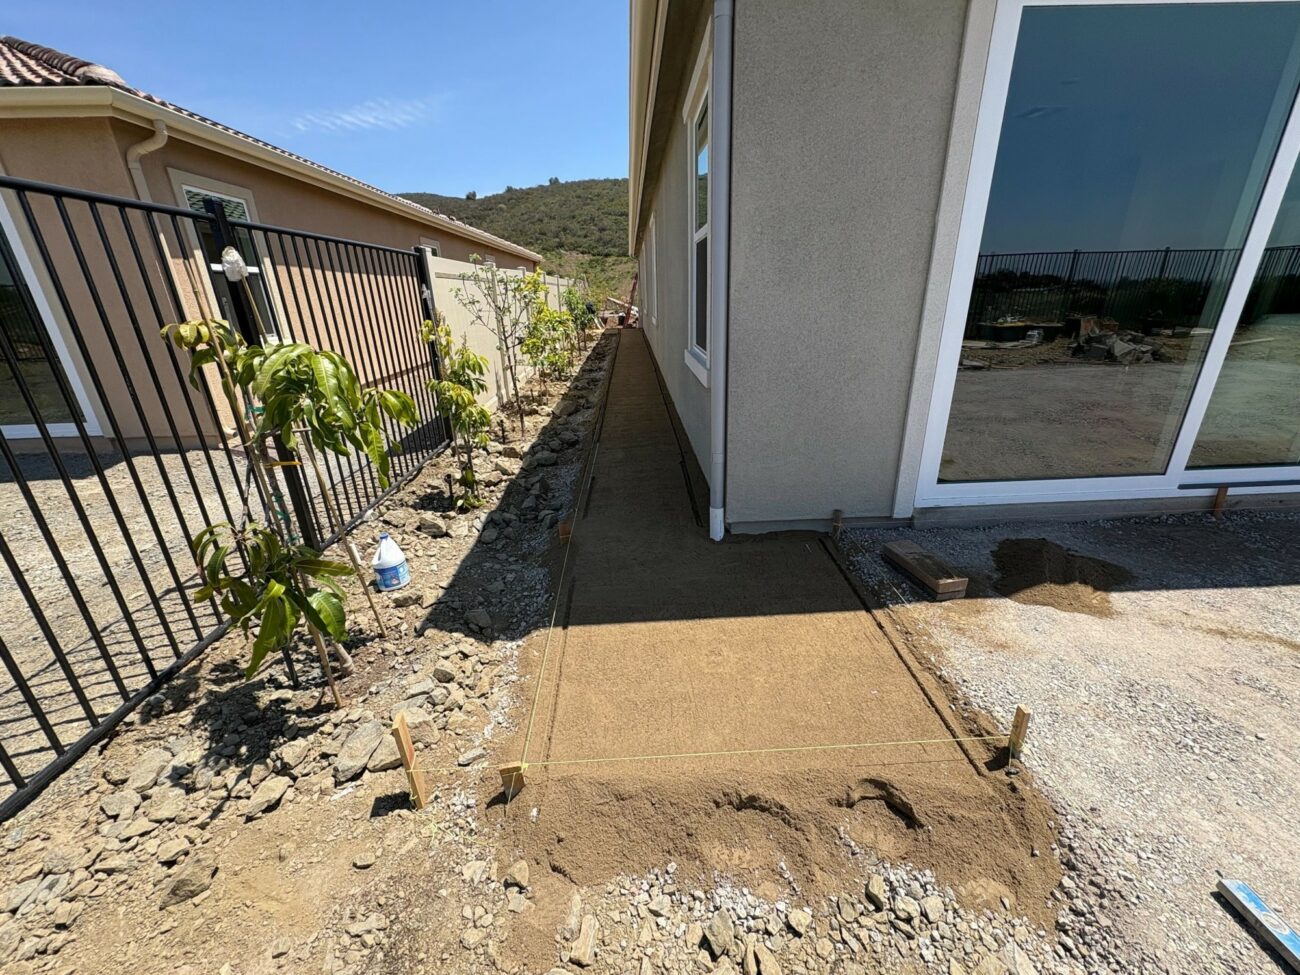
- No walking surface in either side yard — exposed rocky subgrade between the house and the fence before paver walkways went in.
- A broken concrete slab in the yard had to be demoed and hauled before the patio field and its border could be laid.
What Changed
How INSTALL-IT-DIRECT Helped
Over 1,000 five-star reviews and 1,500+ San Diego homeowners served.
Design & Build
The Plan
Large-format porcelain-style pavers in cream/off-white for the patio field, with a charcoal border in the same product line defining the patio edge
Charcoal large-format units set as the patio-edge border, contrasting the cream field at the sliding-door threshold
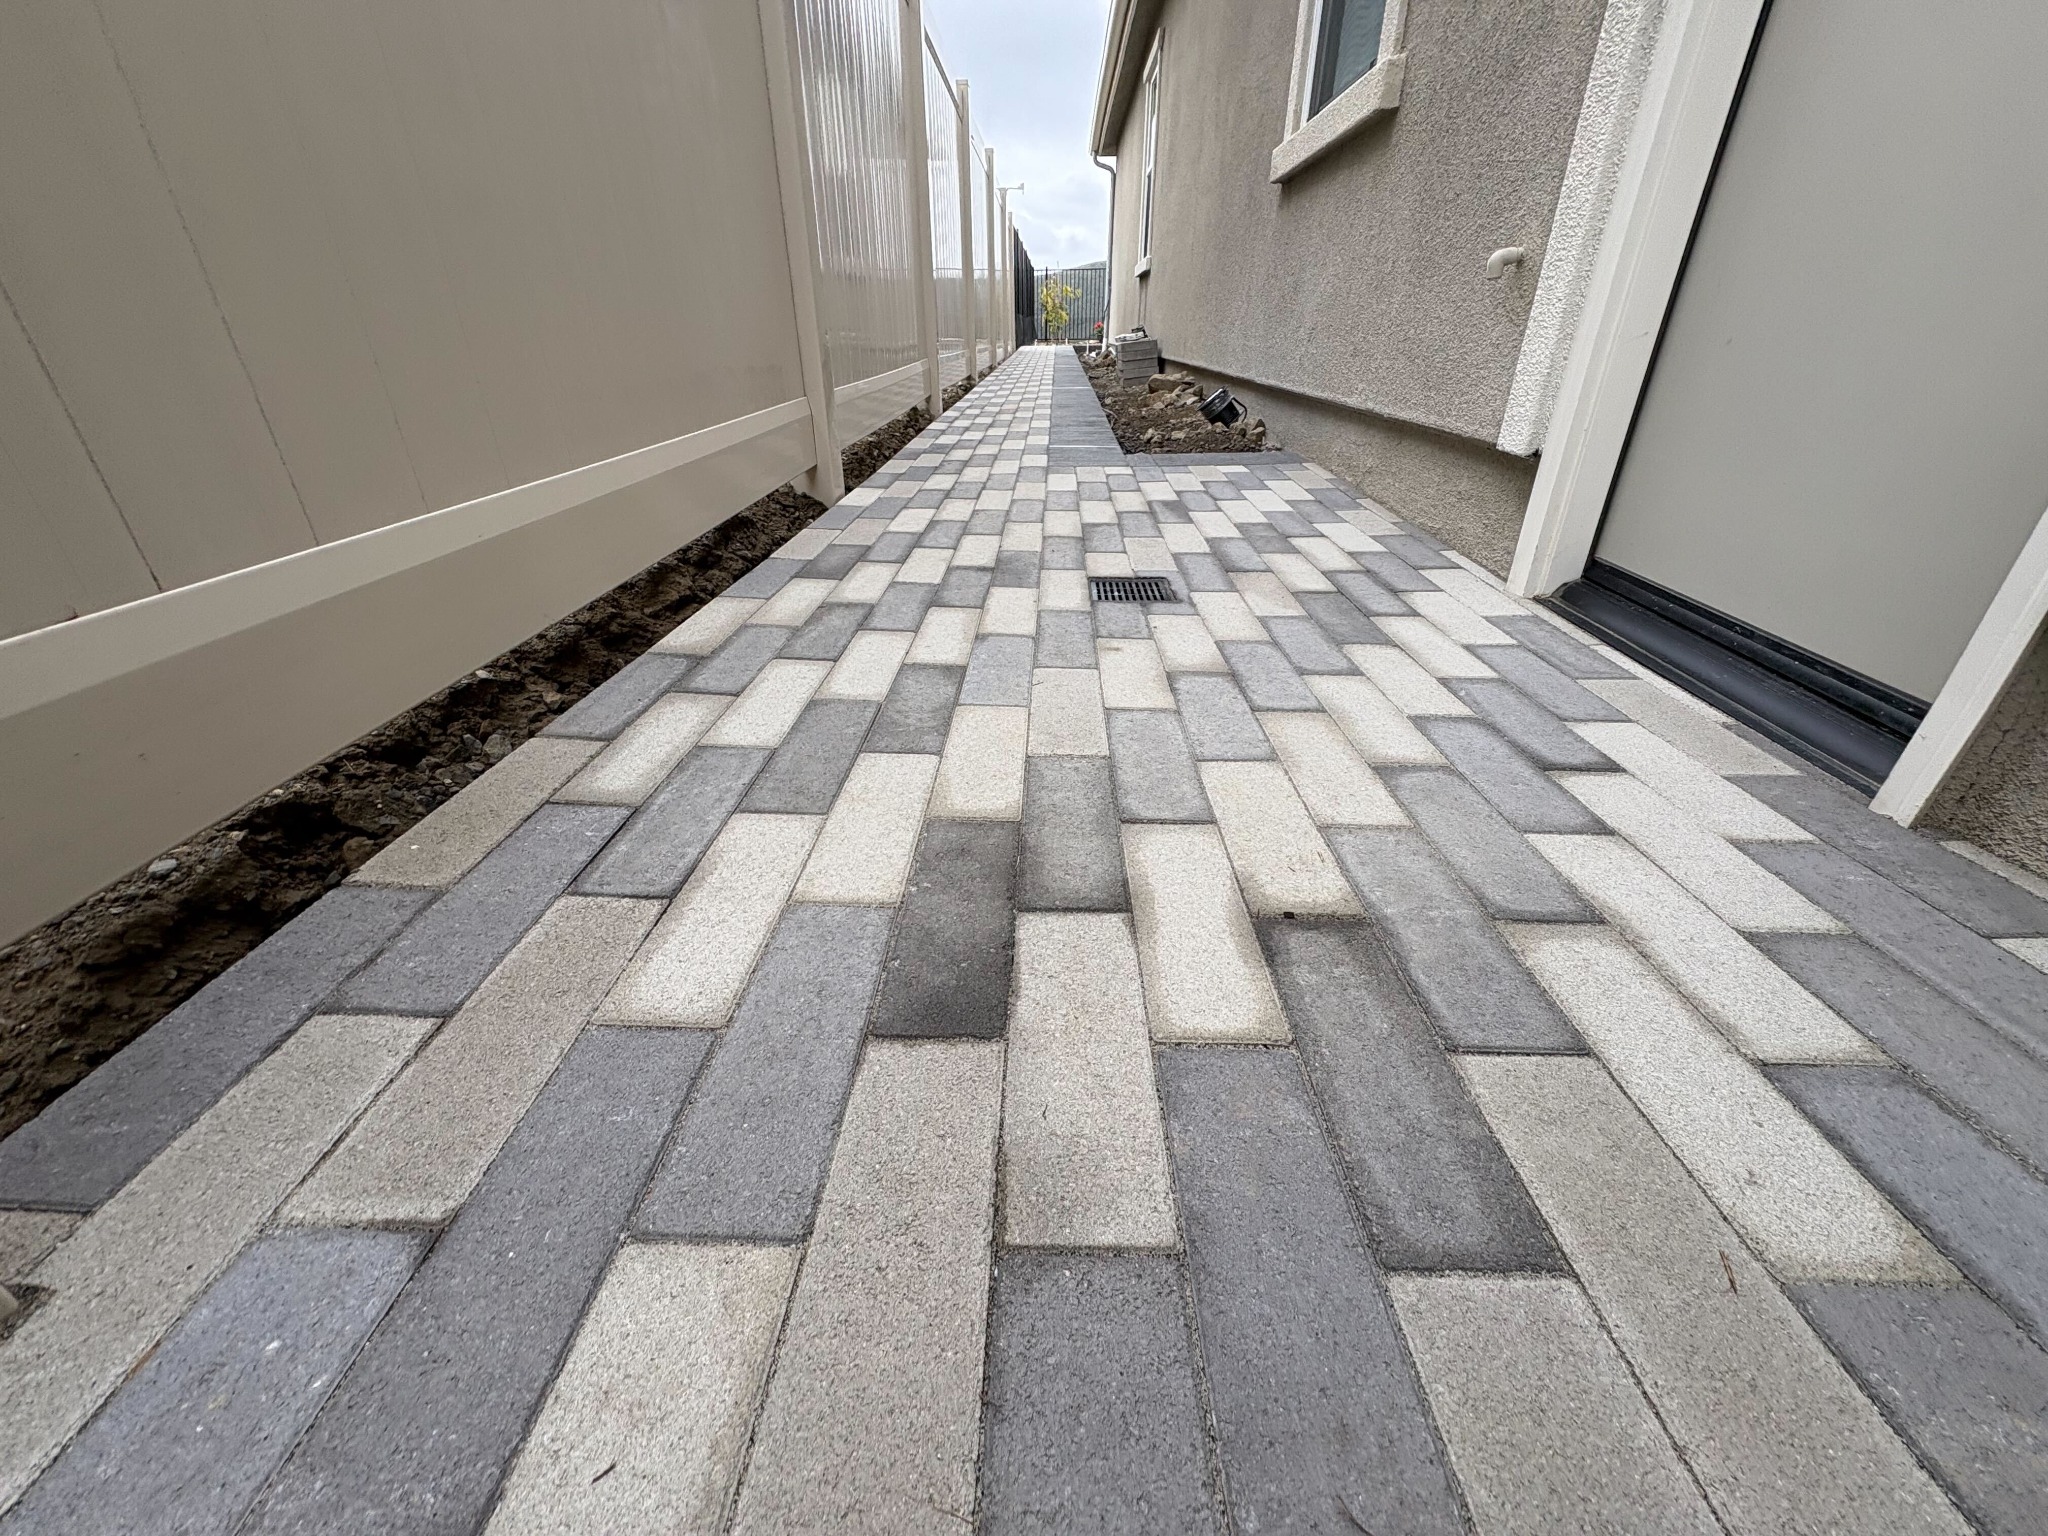
Side-yard walkways in two-tone gray-and-white concrete pavers, coordinated with the porcelain-style patio to carry the hardscape front to back
20 client-supplied paver lights integrated into the layout during design, with positions confirmed at the pre-walk
A drain on the backyard pad was flagged at pre-walk for re-centering, and the paver layout was adjusted around it
Material staging planned around the narrow side-yard access, with pallets positioned at the rear and the front so the corridors stayed clear
The Build
Pre-Walk and HOA Coordination
Before any ground was broken, the project manager completed a pre-walk to verify scope measurements, confirm paver-light positions, and document the broken concrete slab. HOA approval ran in parallel; a new-buyer registration issue on the homeowner's end slowed clearance before install could start.
Demo and Material Delivery
Once approval was in hand, demo began. The broken concrete slab and loose fragments were broken out and staged for haul. Pallets of client-supplied pavers and large-format slabs arrived the same day as demo, with delivery confirmed complete.
Grading, Base Prep, and Concrete Side Work
The backyard was excavated to subgrade and string-lined for layout. Aggregate base went in and was compacted, then bedding sand was screeded to a consistent 1-inch layer across the patio footprint. Concrete strips were poured along portions of the side yards where the narrow corridor required a formed edge before pavers could be set.
Paver and Slab Installation
Pavers went down after base compaction was confirmed, patio field first, then the soldier-course border. Side-yard walkways were installed in the same session, running from the backyard to the front. Border work was completed on the final install day. The 20 client-supplied paver lights were set into the field during paver installation.
Final Checks and Completion
A final walk confirmed paver joints were sanded, edges were cut tight to the house and fence, and paver lights were seated correctly. The certificate of completion was signed at closeout.
Investment
What would a similar project cost in San Marcos?
Toggle components on/off to estimate your project
Frequently Asked Questions
How much does a paver patio installation cost in Twin Oaks Valley, San Marcos?
A paver patio project of this scale in Twin Oaks Valley (92069) typically falls in the $18,000 to $21,000 range. This project covered ~1,217 sq ft of paver installation (≈617 sf backyard patio and ≈600 sf of side-yard walkways) over client-supplied pavers, a charcoal border accent, installation of 20 client-supplied paver lights, and concrete demo and haul. Scope, access constraints, and material choices all affect final cost.
Do I need HOA approval to install a paver patio in a Twin Oaks Valley community?
Most planned communities in San Marcos (92069), including parts of Twin Oaks Valley, require HOA architectural approval before hardscape installation begins. On this project, a new-buyer registration issue slowed the approval. Install It Direct coordinated the HOA process, and install began once clearance was received.
How are paver patios graded for drainage near a house foundation?
Hardscape near a house foundation has to slope to direct water away from the structure. On this project, the backyard was re-graded to subgrade before base installation, and a drain on the pad was re-centered during layout to support proper drainage. All paver surfaces were set to slope away from the house.
How long does a paver patio and walkway project take in San Diego?
Most San Diego paver-and-walkway projects of this scale run about four to eight weeks from scheduling to completion, with HOA approval and material lead times being the main variables. Active field work on a project like this is typically about a week, covering demo, base prep, paver installation, and border work.
Can paver lights be installed in an existing paver patio in San Diego County?
Paver lights are easiest to install during the initial paver installation, when positions can be planned into the layout and wiring can be run under the base before pavers are set. On this project, the homeowner supplied 20 paver lights that were integrated into the field during installation. Retrofitting lights into an existing patio is possible but requires lifting pavers and re-routing wiring.
What is included in concrete demo before a paver patio installation?
On this project, the existing concrete slab in the backyard was broken and had to be demolished and hauled before paver work could start. Demo included breaking the slab into manageable pieces, loading the debris, and hauling it off site. The area was then excavated to the correct subgrade depth for the paver base. Concrete demo is typically a separate scope item from the paver installation itself.
Your Outdoor Project in 3 Simple Steps
Design
We listen to your vision, assess your space, and create a custom design that fits your lifestyle and budget.
Build
Our experienced crews bring the design to life with premium materials and expert craftsmanship.
Enjoy
Step into your transformed outdoor space and start making memories with family and friends.
Your Project Manager

Alan Munoz
Alan has worked across many outdoor-living trades over the years, building broad hands-on expertise. He's passionate about customer service and brings care and attention to every project he takes on.
Ready to Transform Your Outdoor Space?
Let's discuss your project and bring your vision to life.