How to Clean + Maintain Outdoor Solar Lights (Guide)
All outdoor lighting requires a bit of cleaning and maintenance to ensure proper function and illumination and to avoid potentially costly repairs. Halogen and LED landscape lighting systems should be cleaned and maintained once or twice a year, but solar outdoor lights require a bit more care to keep them functioning well.
Basically, this increased amount of cleaning and maintenance is the trade off for choosing solar-powered lights, since it is the solar panels and batteries that allow you to harness the energy of the sun that make it necessary to put a little more time into caring for your lights.
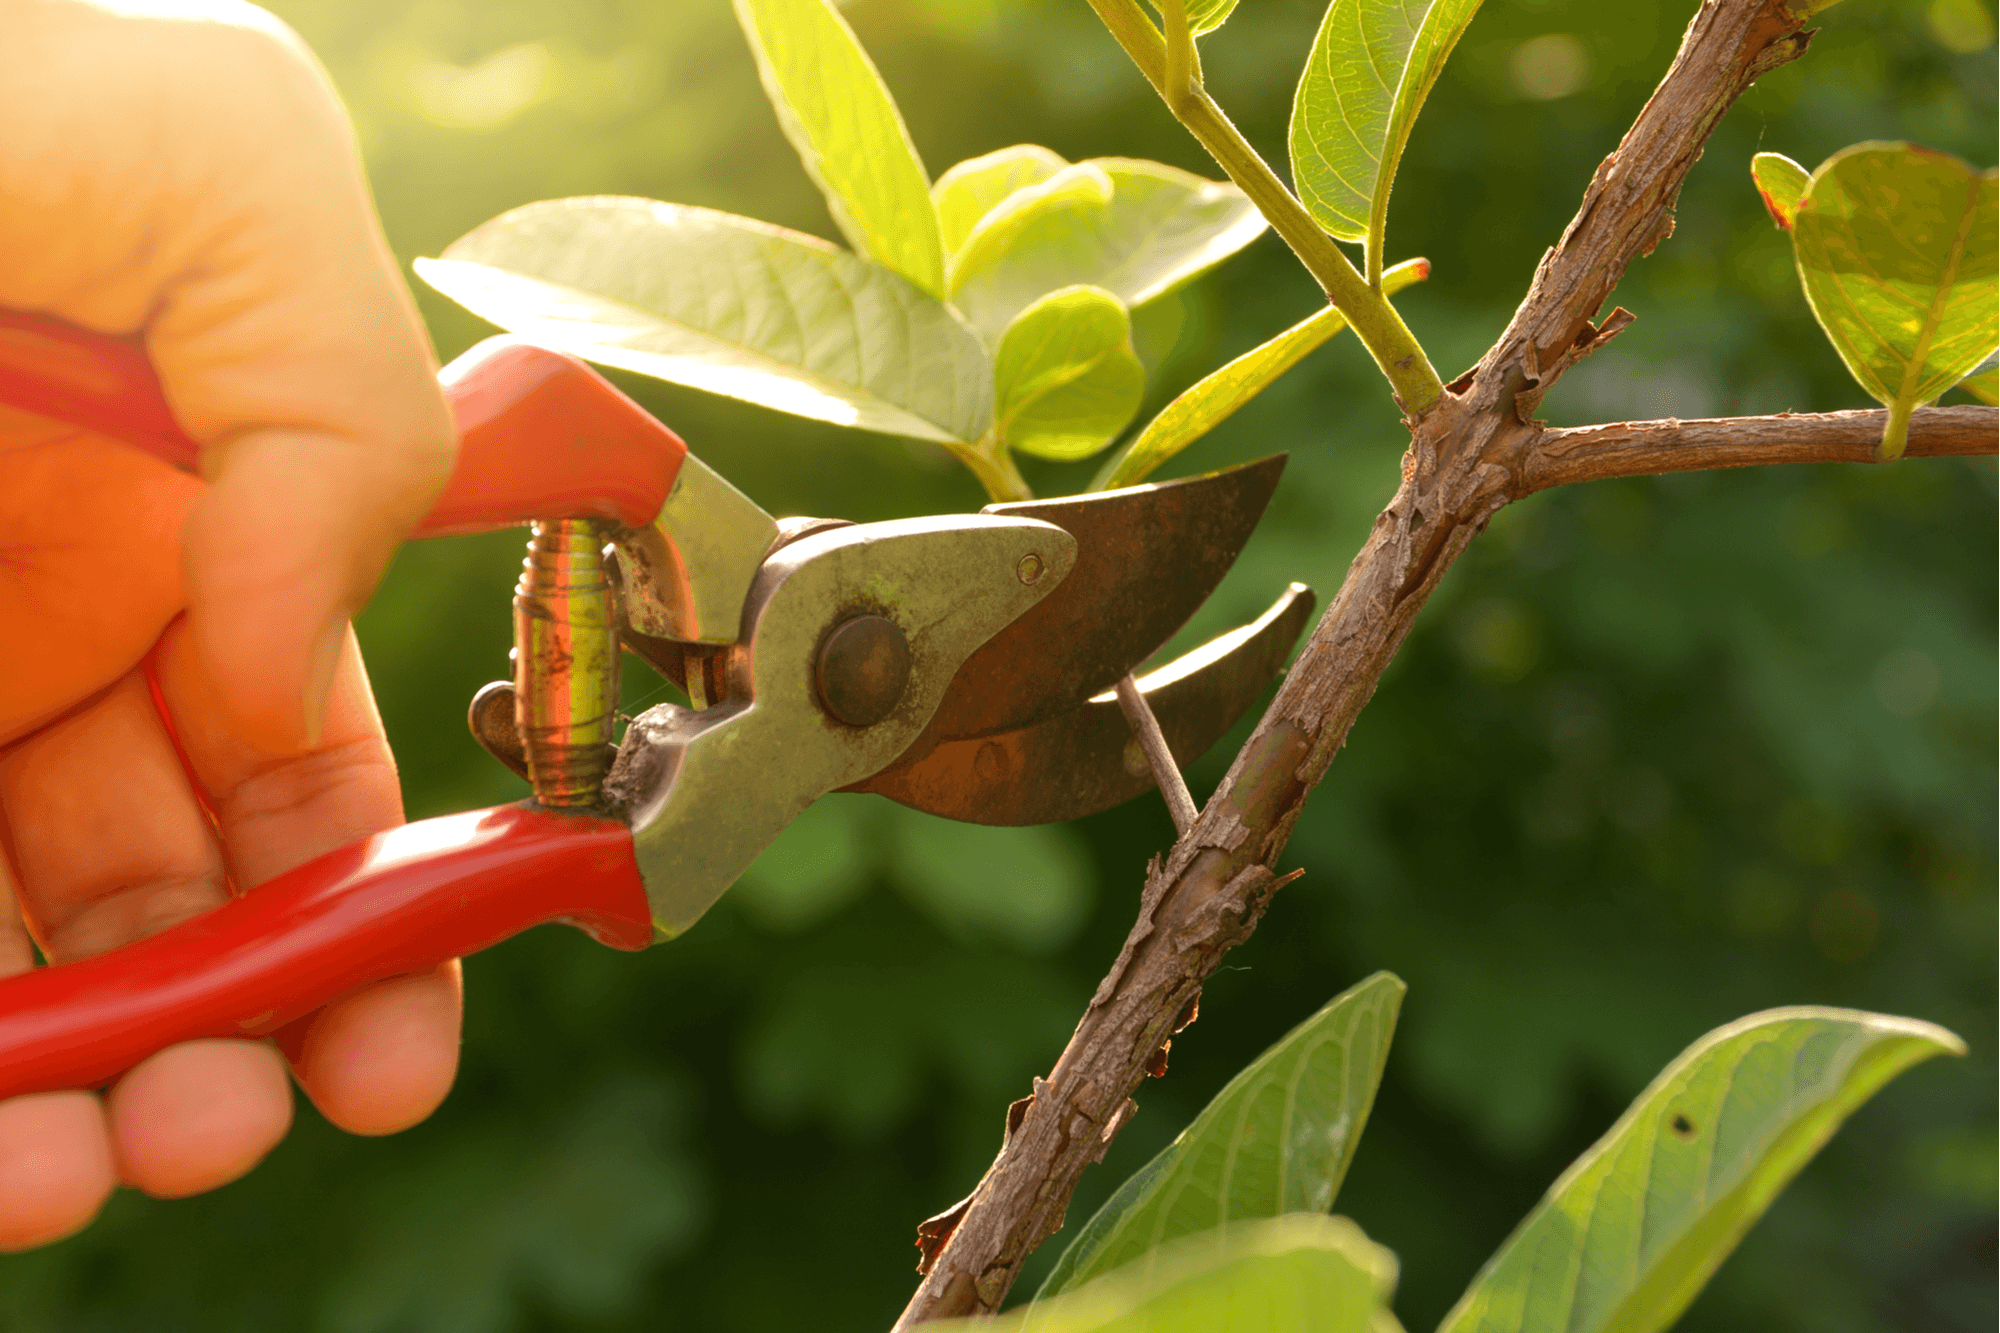
1. Regularly prune nearby shrubs and trees.
Any plant, tree or shrub that may block the sun for part of the day needs to be regularly pruned to make sure your solar panels have full sun exposure. Because your lights rely on sunlight, this task will need to be completed regularly. Depending on the growth rate of surrounding trees and bushes, you may need to prune them as often as once per month.
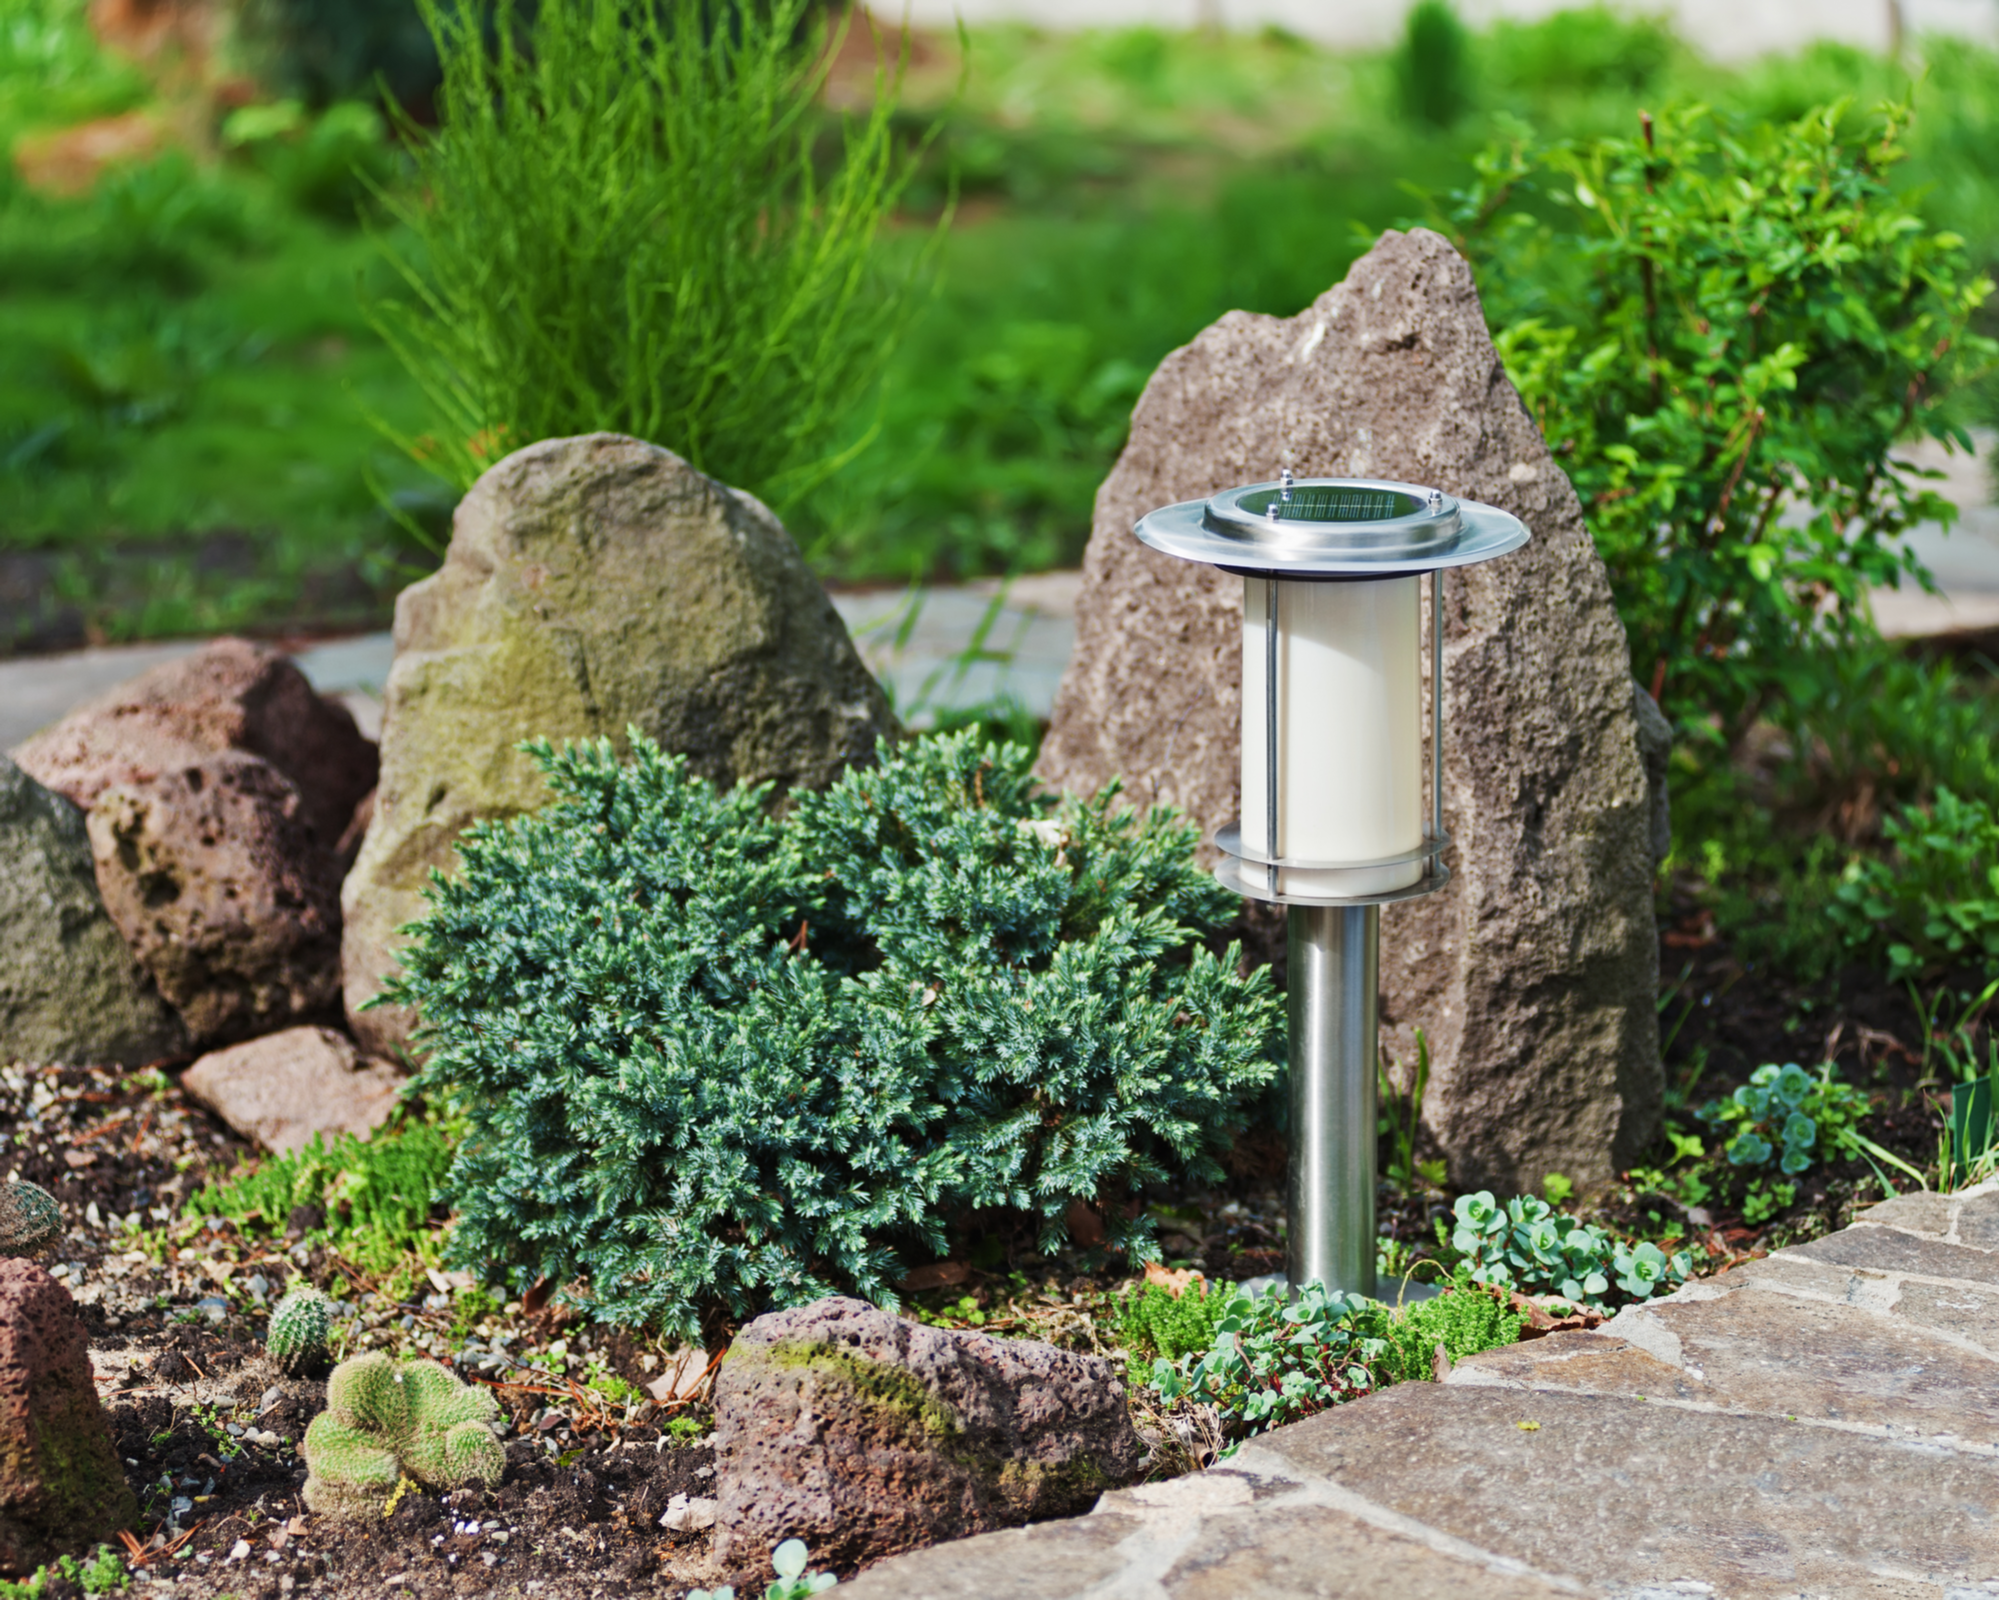
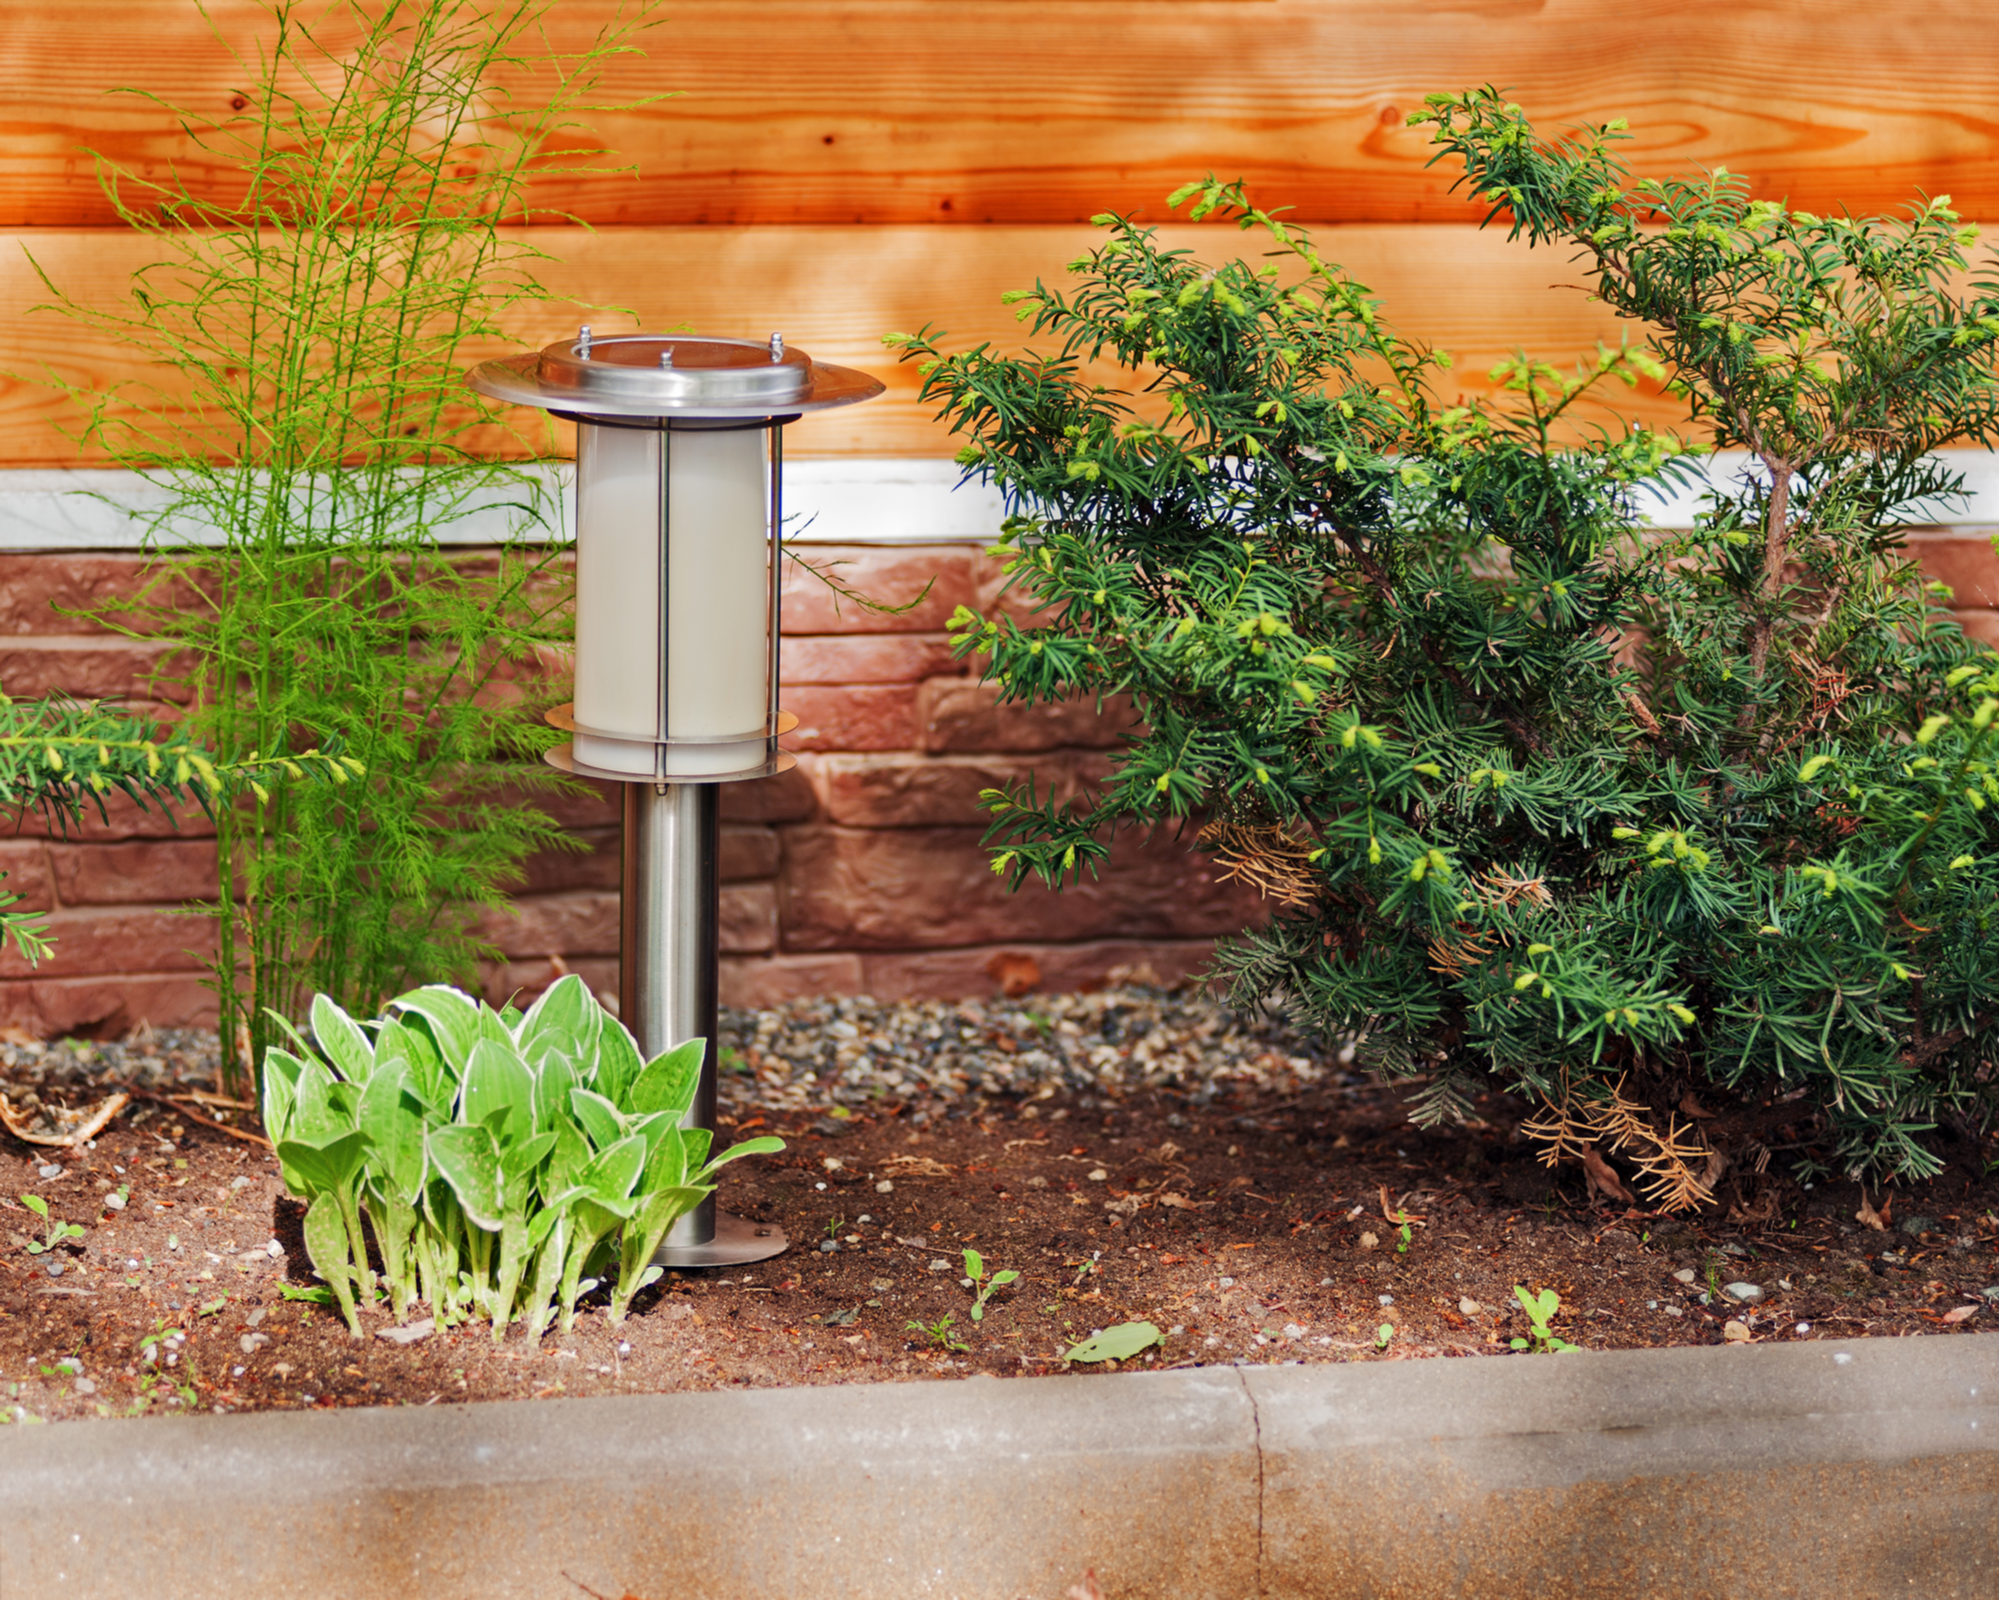
2. Clean the solar panels.
This step is essential to solar light maintenance and will directly influence how well your outdoor lights function. Solar panels that have a layer of dust or other debris cannot fully charge the battery during sunlight hours. This is a problem for two reasons. The first issue is that your outdoor lights will not stay on as long after dark, because the battery will not have enough stored energy. The second problem is that this may shorten the life of your battery.
It is best to clean your solar outdoor lights with soapy water and a soft cloth. You may need a soft-bristled brush to remove mud and stubborn debris. It is best to clean your solar panels early or late in the day to avoid cleaning them when the fixtures are hot.
Most homeowners can clean their solar panels about once per month for maximum function. If you live in a particularly dusty area, you may need to perform this task more often.
3. Clean the globes and fixtures.
While you have your soapy water, soft cloth and scrub brush out, you can also clean any mud, dirt, dust or debris from the globes and fixtures. Cleaning the metal or plastic components of your landscape lights can help extend their life and maintain their visual appeal. Cleaning the glass or plastic globes ensures that dirt and dust are not inhibiting illumination.
4. Check globes and fixtures for damage.
While you are cleaning your globes and fixtures, inspect them for damage, such as cracked globes, cracked plastic or dented metal components. If you find damage, you may be able to order and replace just the damaged parts. If not, you may have to replace the fixture.
5. Check the batteries for corrosion.
If your batteries do not seem to be charging fully or your solar outdoor lights are not functioning properly, it may be due to corrosion on your batteries. You may need tools to dismantle your fixtures and access the battery housing. Once you have exposed the batteries, look for white dust on them or the housing. Light corrosion can often be removed with a soft-bristle brush. More stubborn corrosion may require fine-grit sandpaper for removal. If the batteries are too corroded to be easily cleaned, it is time to replace them.
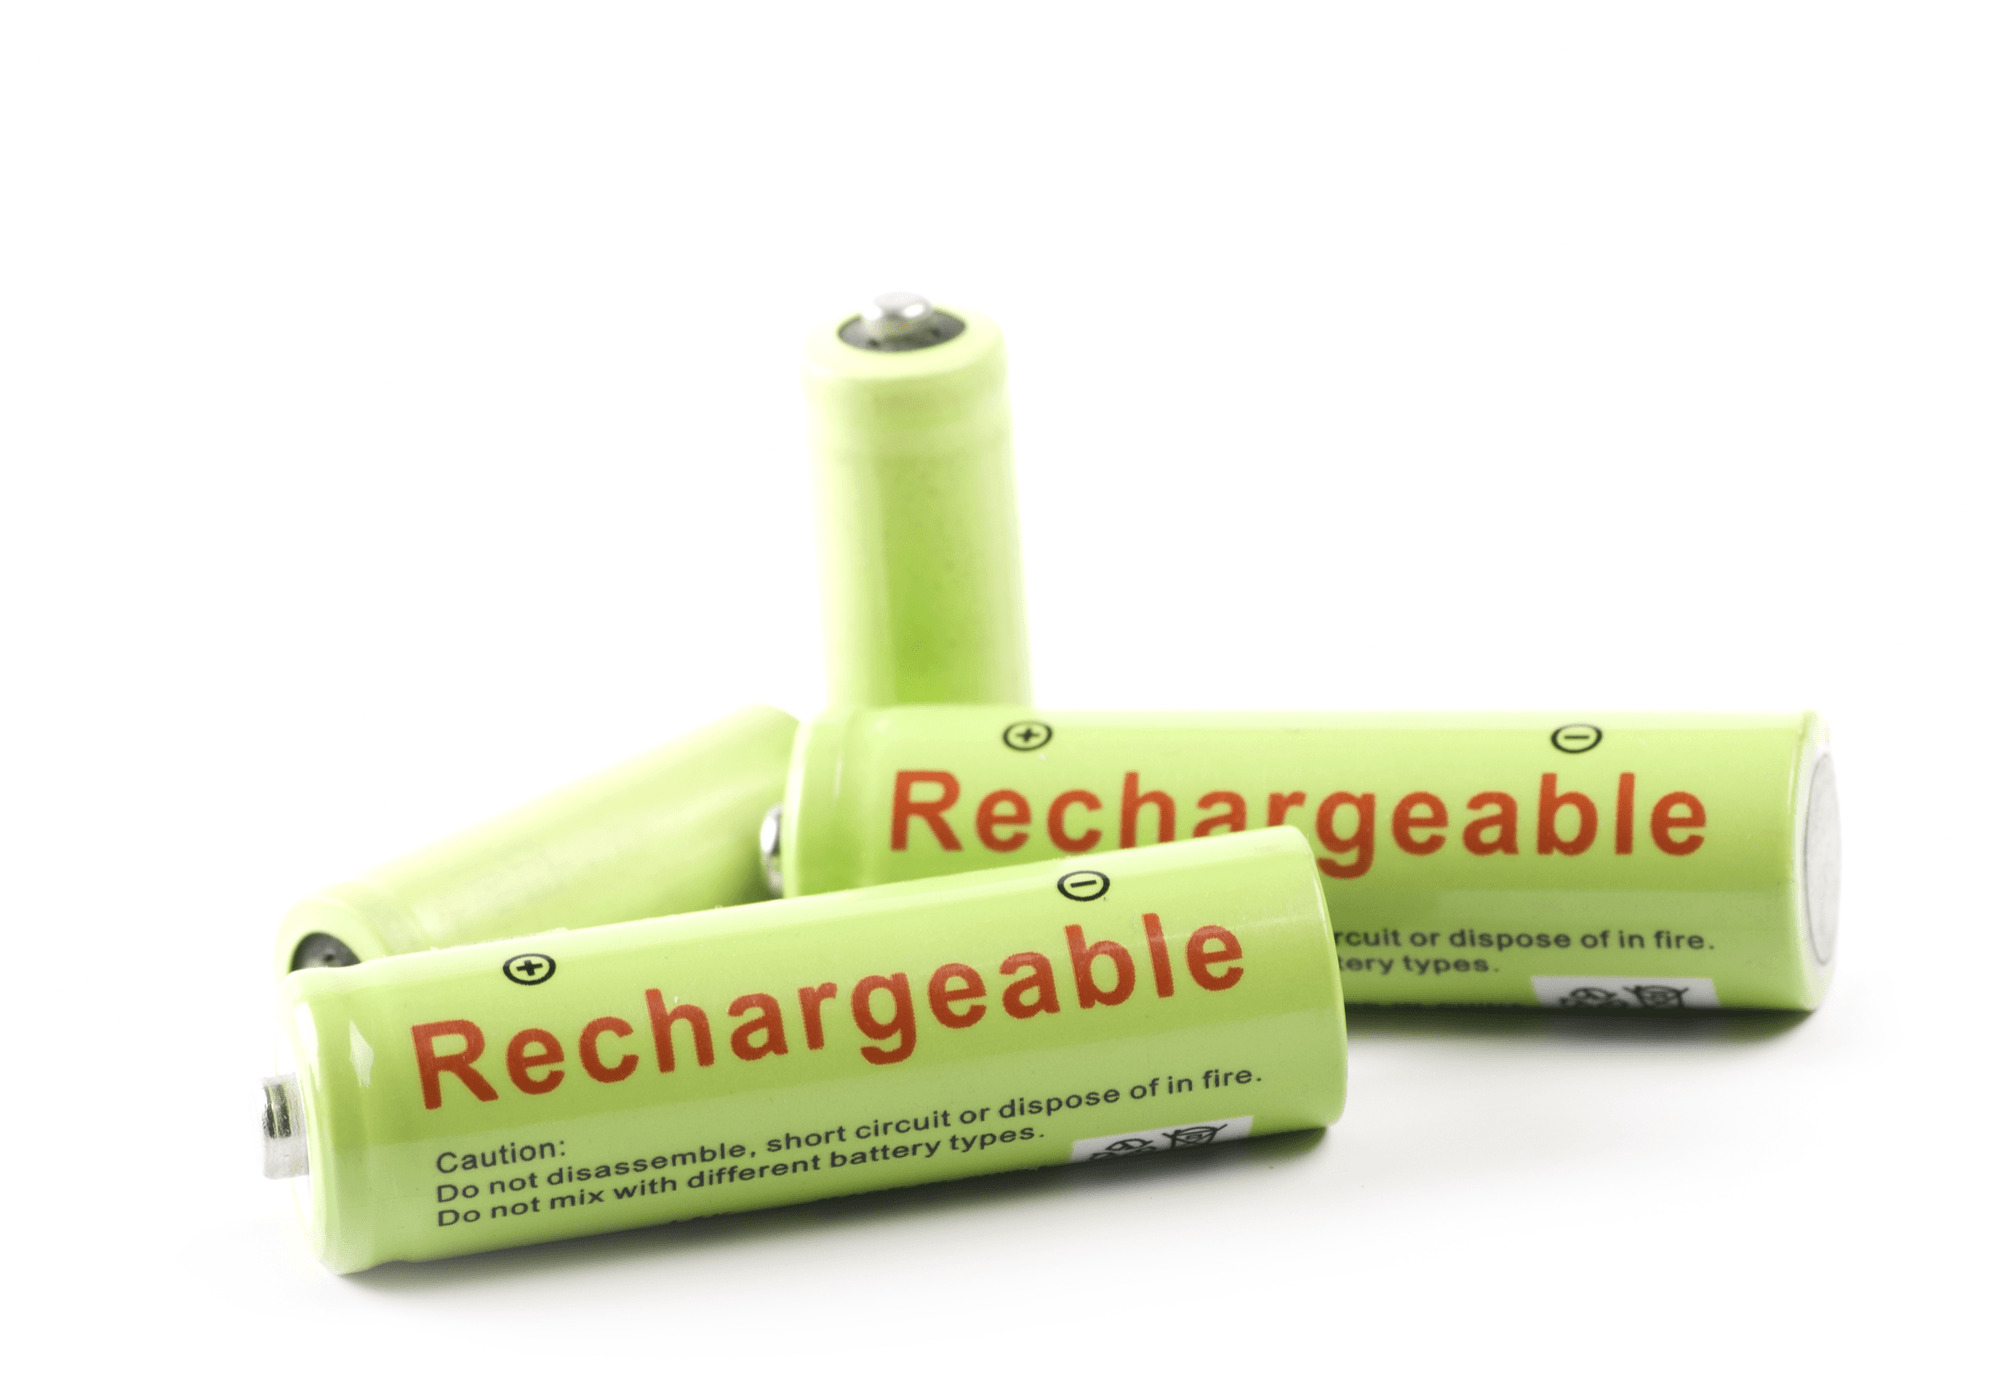
6. Replace the batteries, if needed.
Solar landscape lighting batteries generally last between one and three years before they need to be replaced. If your fixtures came with NiCd (nickel cadmium) batteries, you can expect to see a lifespan on the shorter end of the spectrum. You will know your batteries need to be replaced when your lights consistently stay on shorter periods of time at night, when the light becomes dimmer or when your solar lights stop working completely.
If you think it is time to replace the batteries in your solar outdoor lights, you should do a couple of tests before you invest in new batteries. The first thing to do is to simply clean the solar panels to make sure that dirty panels are not the culprit in your shorter battery life. The next step is to switch the on/off switch to the off position and leave your lights where they will receive direct sunlight for two to three days. This will ensure that your lights have an opportunity to fully charge without using that stored energy at night. If your lights still are not working properly, it is time to change the batteries.
NiMH (nickel metal hydride) batteries will cost more than NiCd batteries, but they also have a longer lifespan and are an eco-friendlier option, which makes them worth the investment.
7. Check your wires and connections.
A benefit of choosing solar-powered landscape lighting is that you do not have to worry about burying electrical wires, but there are still wires that may need your attention. If your fixtures are separate from the solar panels, you will have a wire connecting the two that can be chewed by wildlife or pets. The more common case is simply having interior wires connecting your on-fixture solar panel to the batteries. Although this wire is pretty protected, it still may be possible for wildlife to access it and chew through the wires.
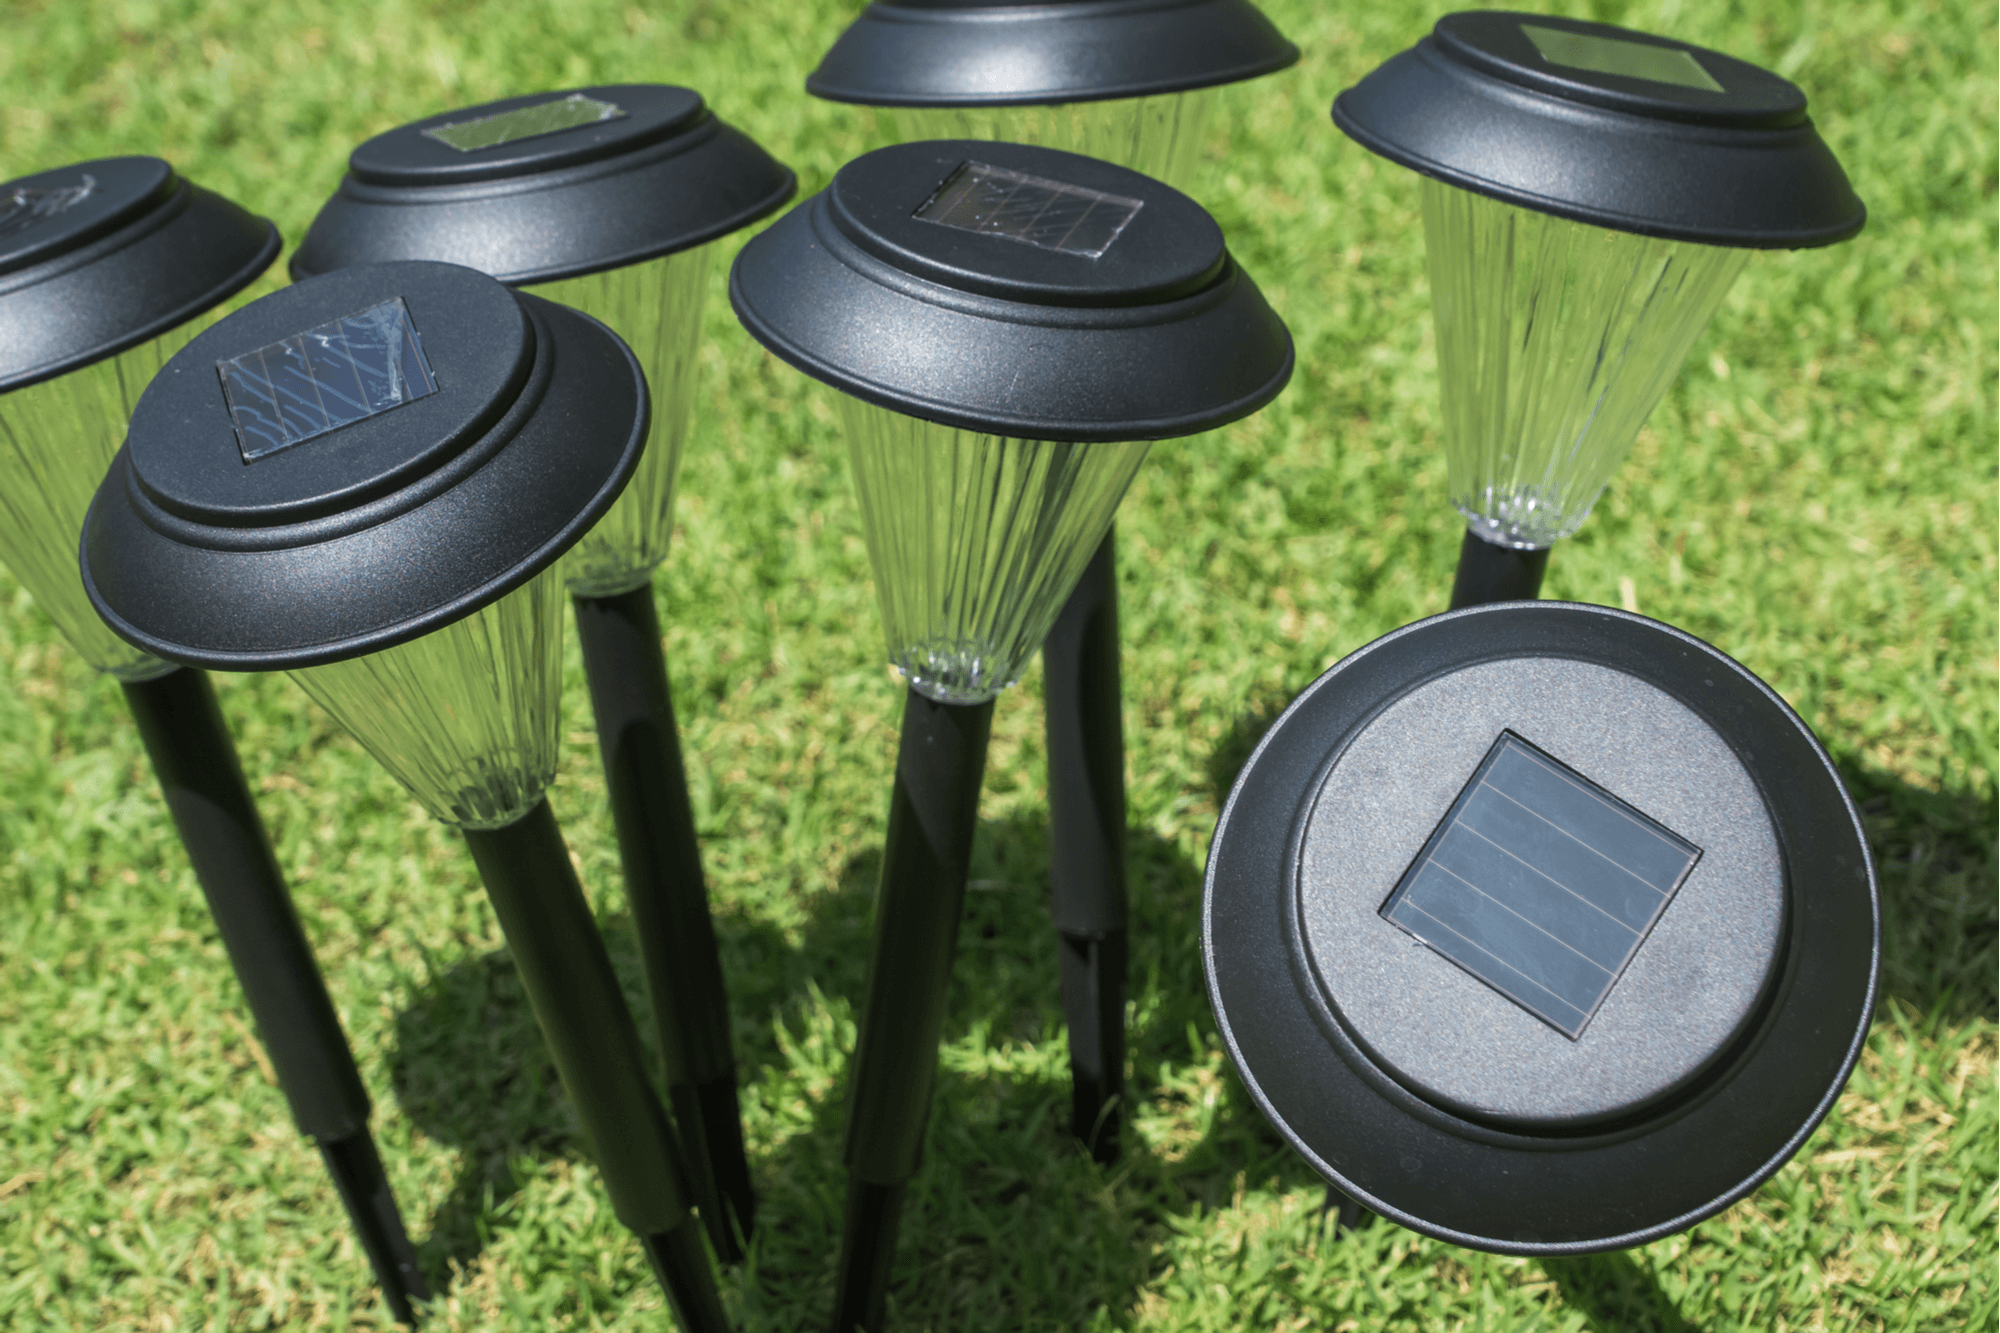
8. Adjust fixture positions.
In order to fully charge the batteries, your solar panels need at least four to six hours of sunlight every day. While you will certainly position them so that the solar panels can capture maximum sunlight when you install them, it is possible that a guest, pet, wildlife or rake may have knocked one or more of them out of position. It is also possible that you may need to adjust their positions to ensure optimal illumination of pathways, gardens or outdoor living areas.
Bonus tip: If you plan on storing your solar outdoor lights for a long period of time, remove the batteries to avoid corrosion.
Please refer to Landscape Lighting Maintenance Tips for information on how to clean and maintain LED or halogen landscape lighting and for general outdoor lighting maintenance tips.